1. 파일 업로드 라이브러리 설치
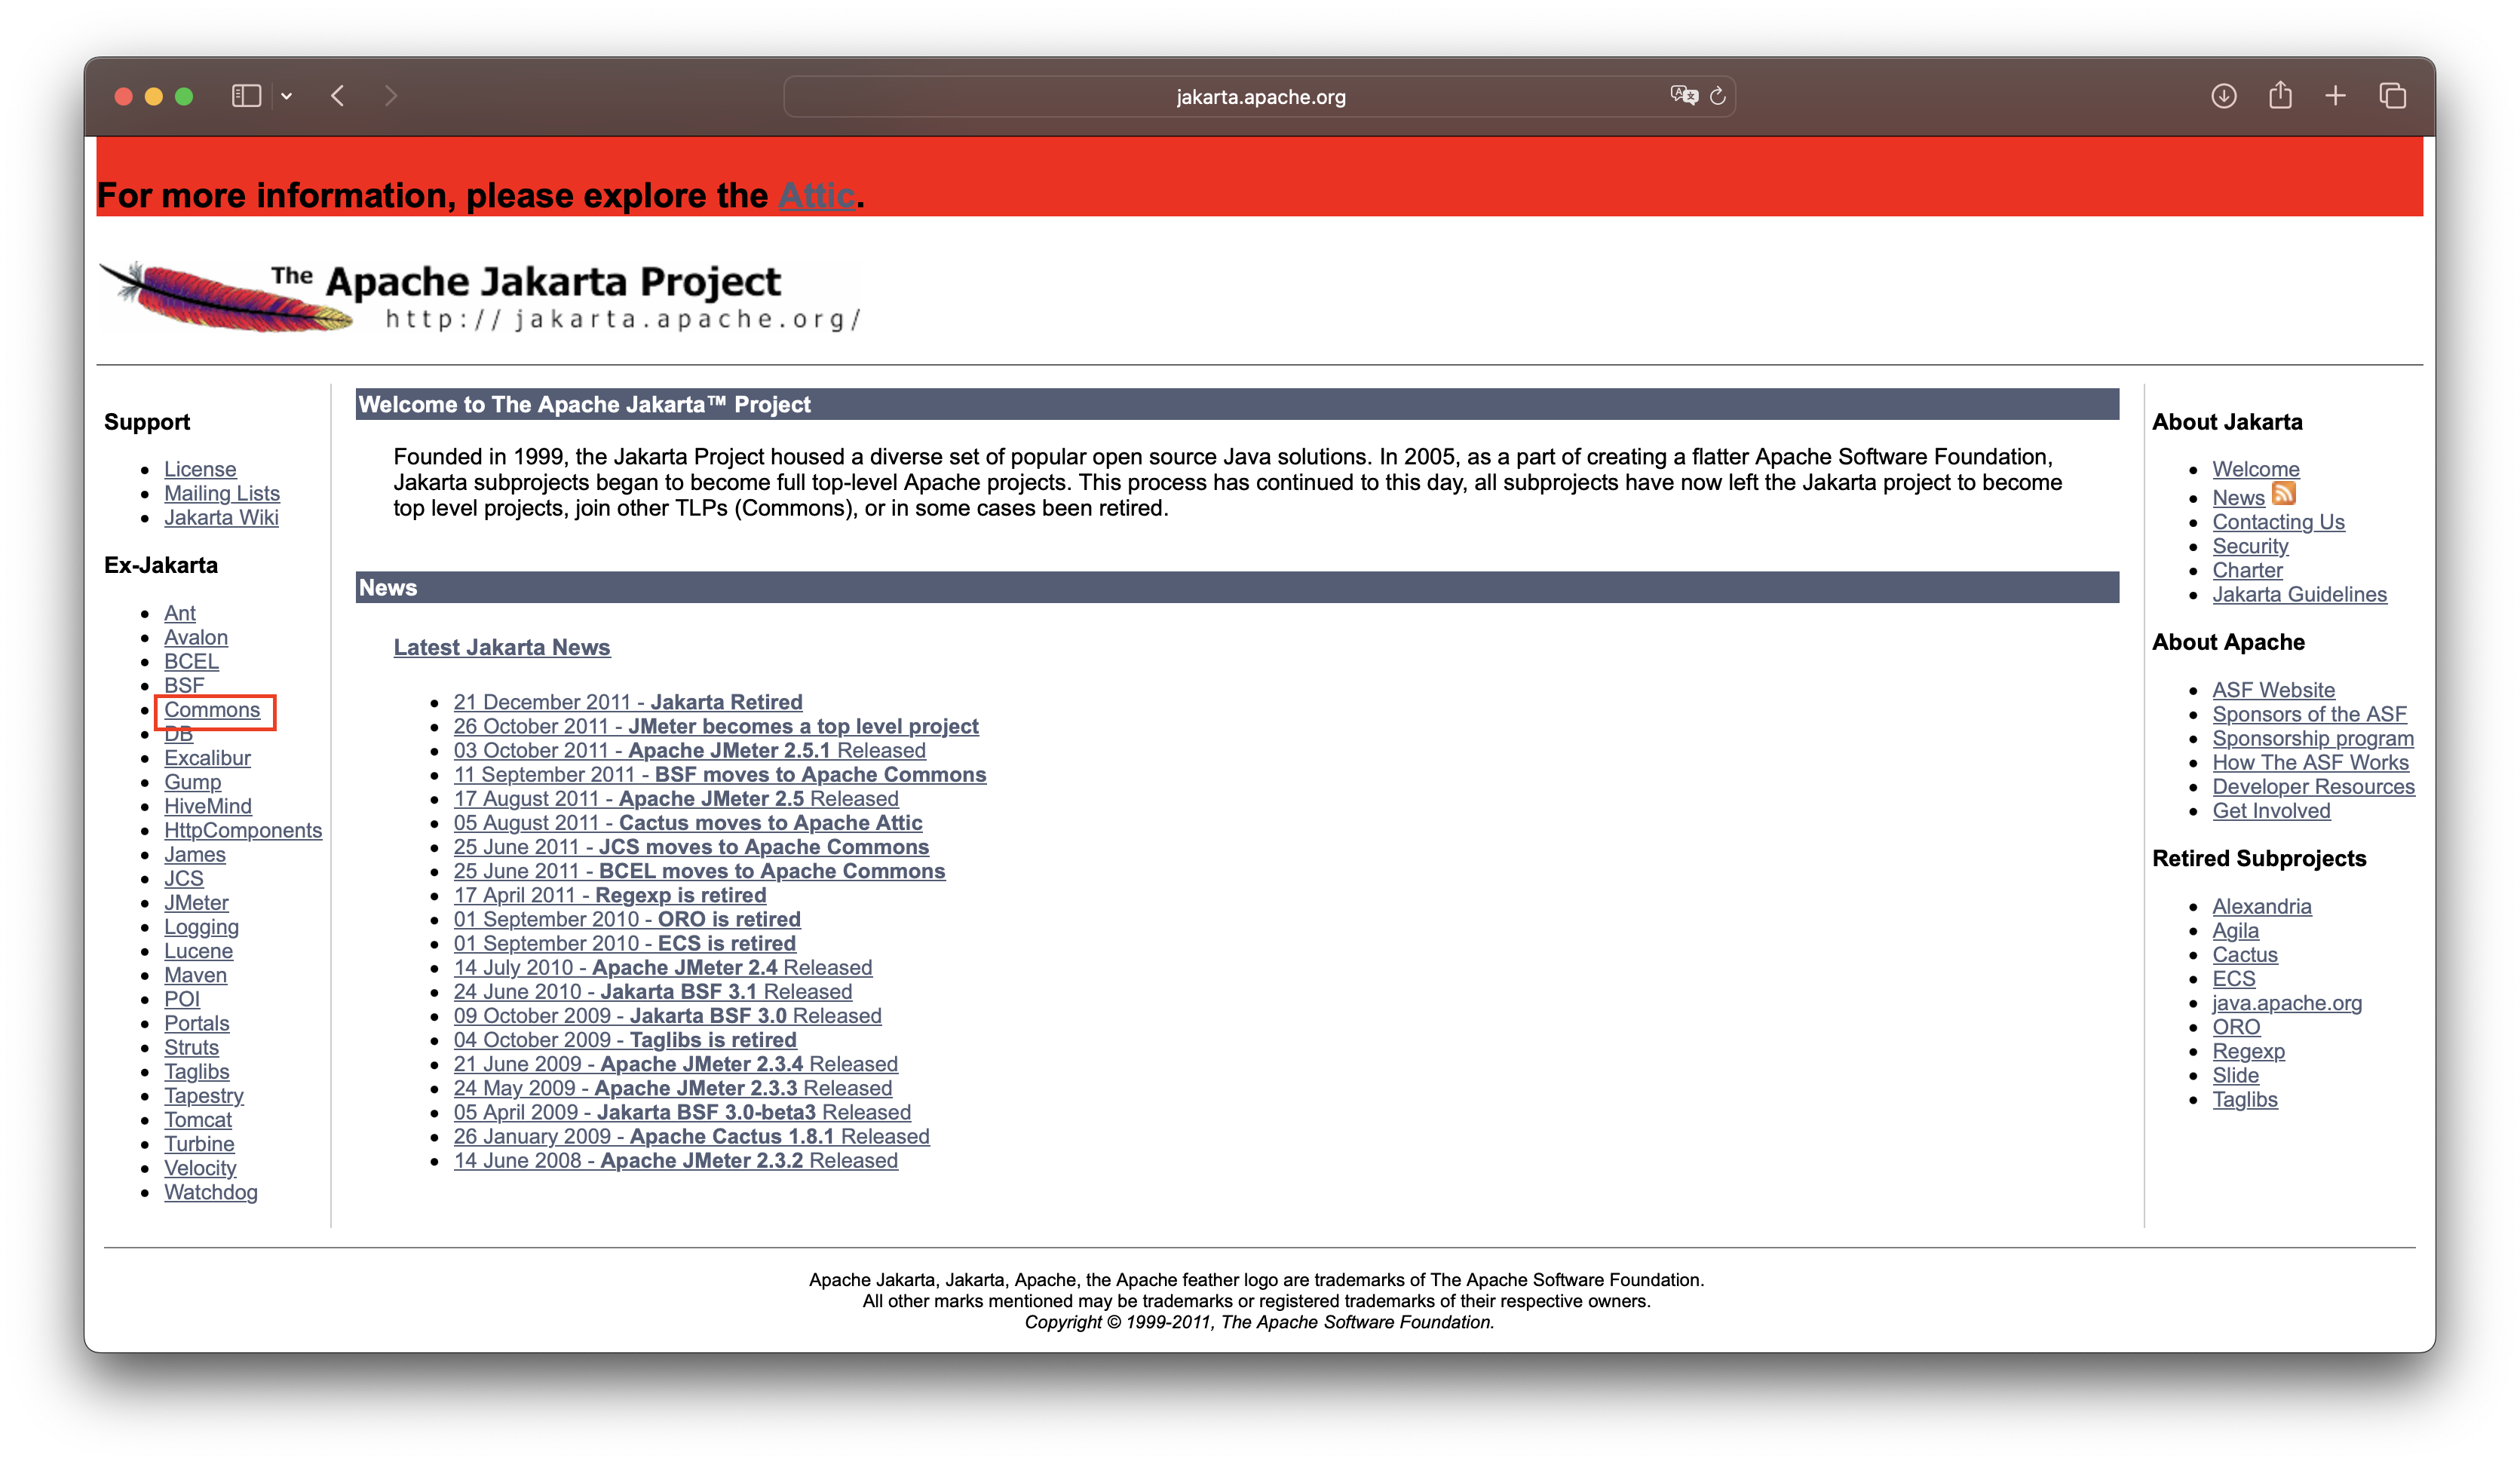
jakarta.apache.org로 접속 후 왼쪽 메뉴의 Commons 클릭
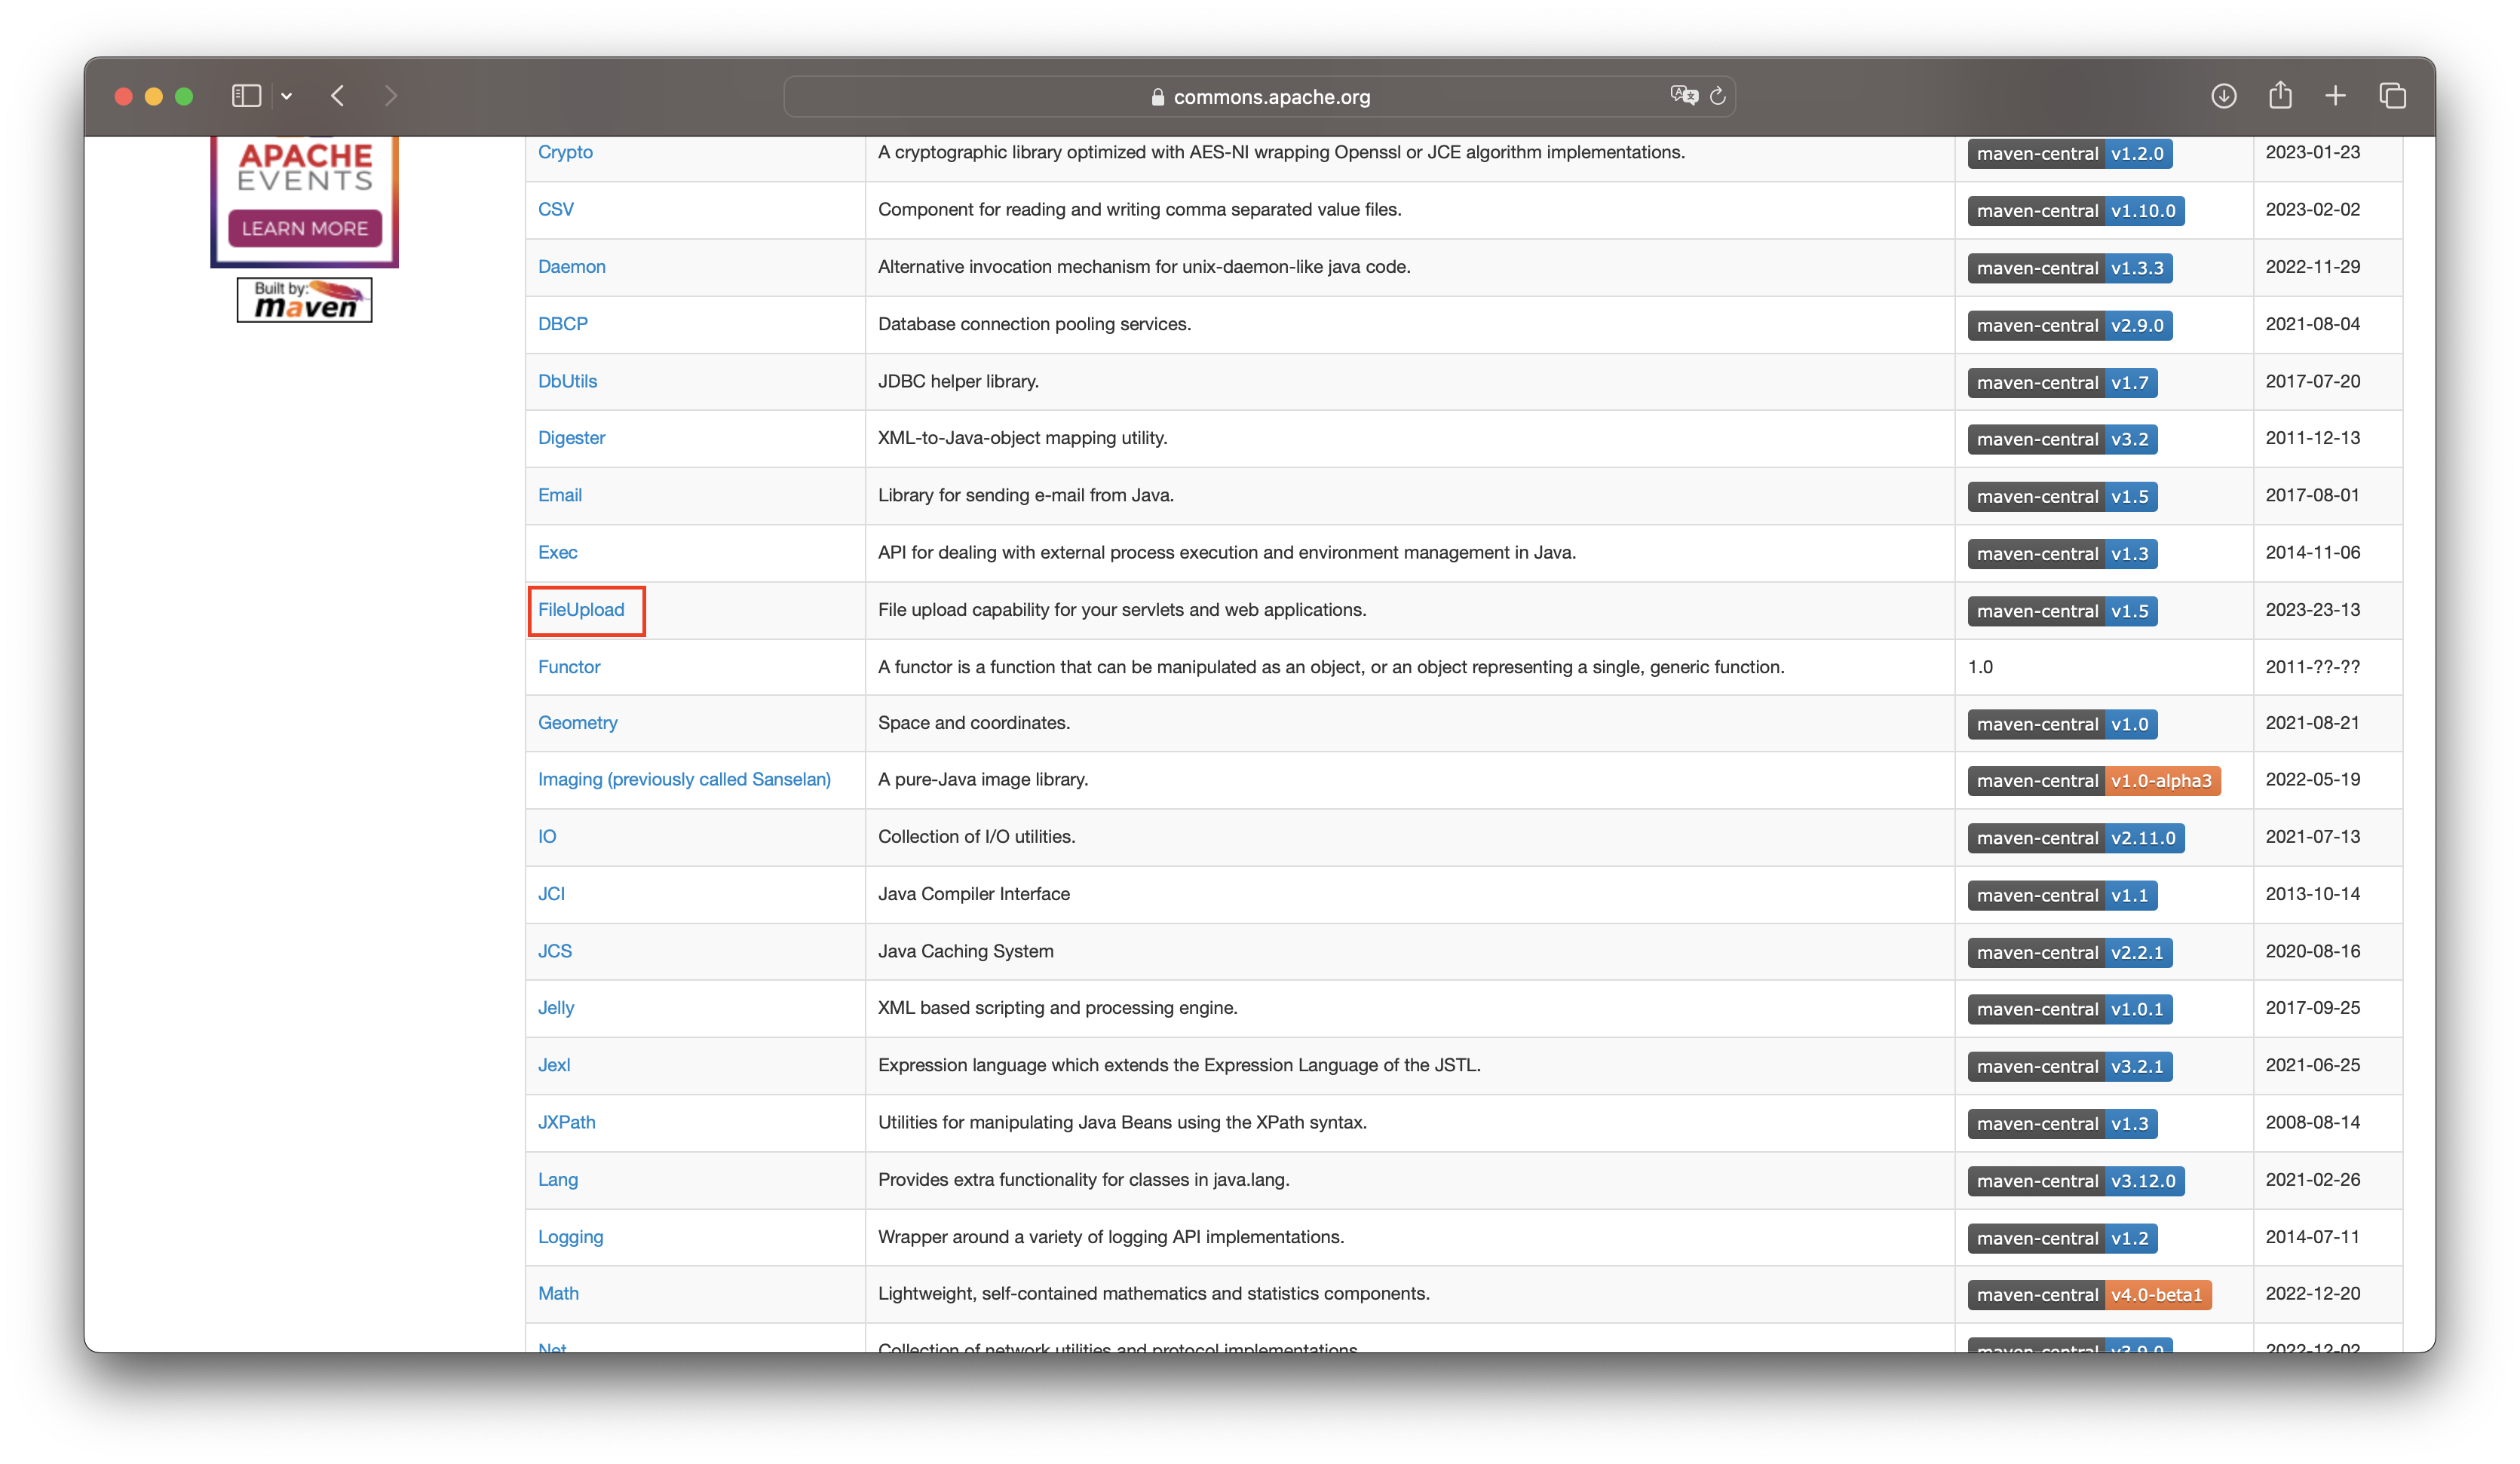
2. 스크롤을 내려 FileUpload 클릭
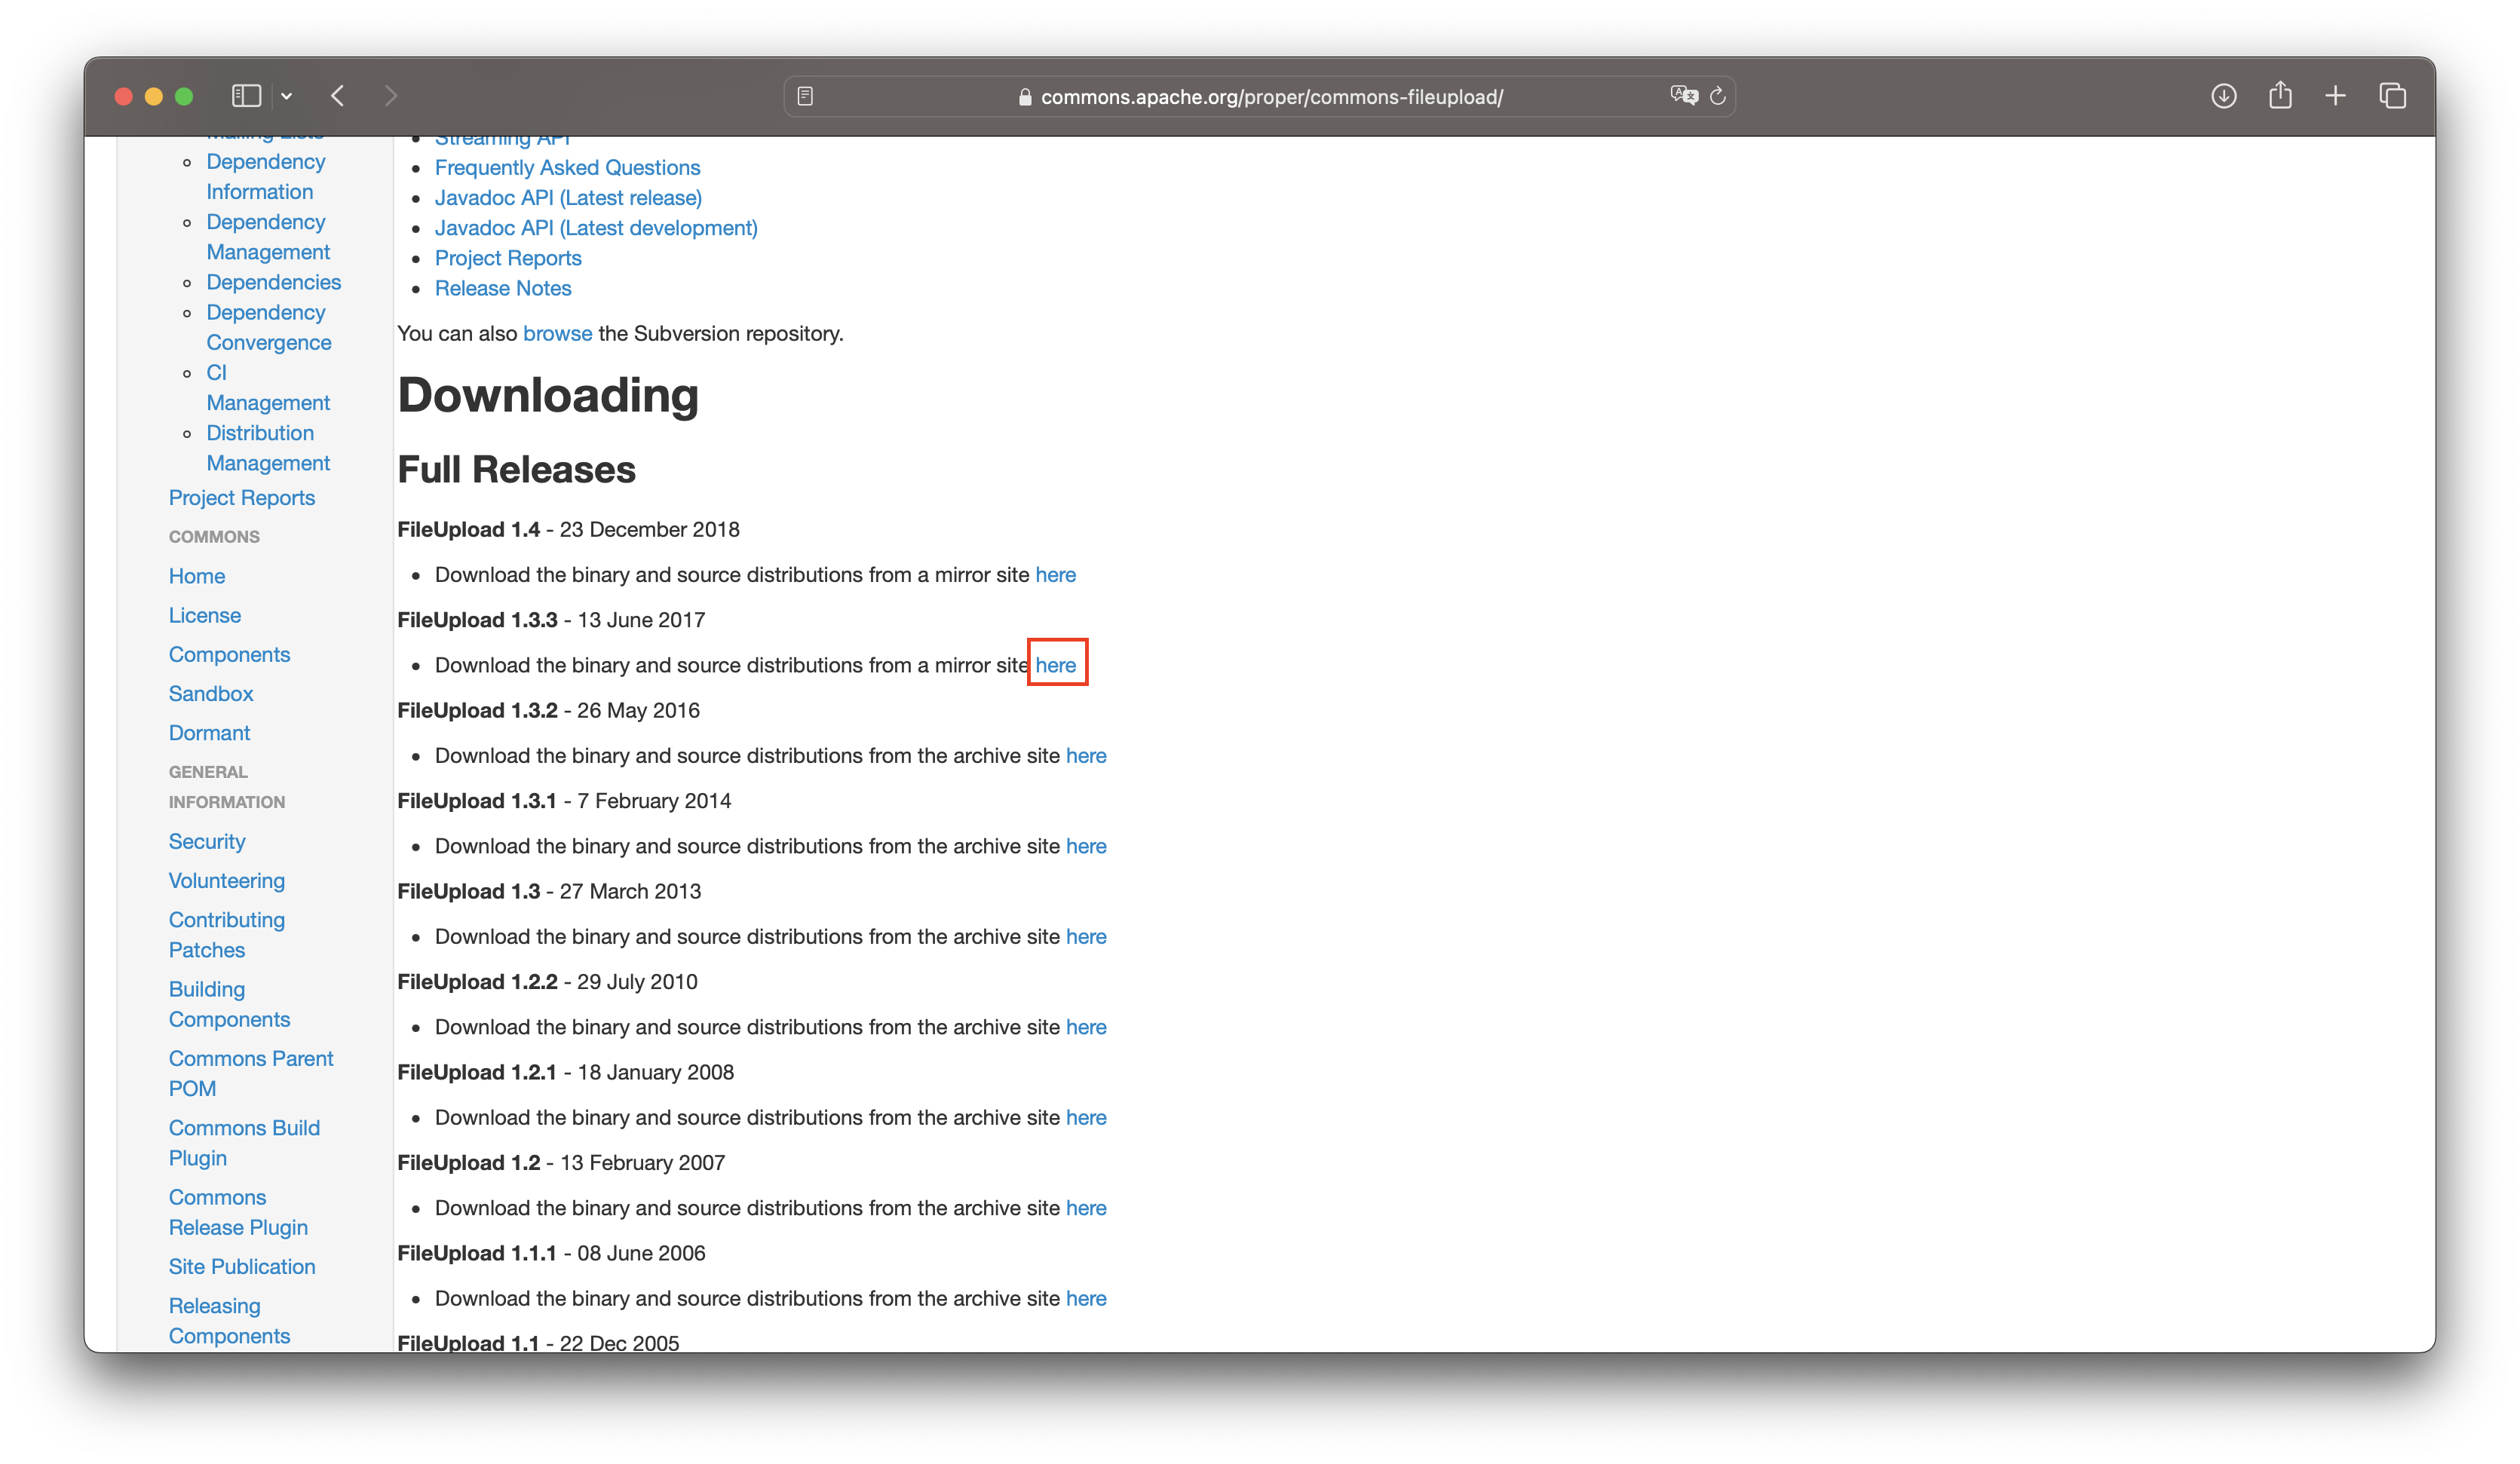
3. FileUpload 1.3.3의 here 링크를 클릭
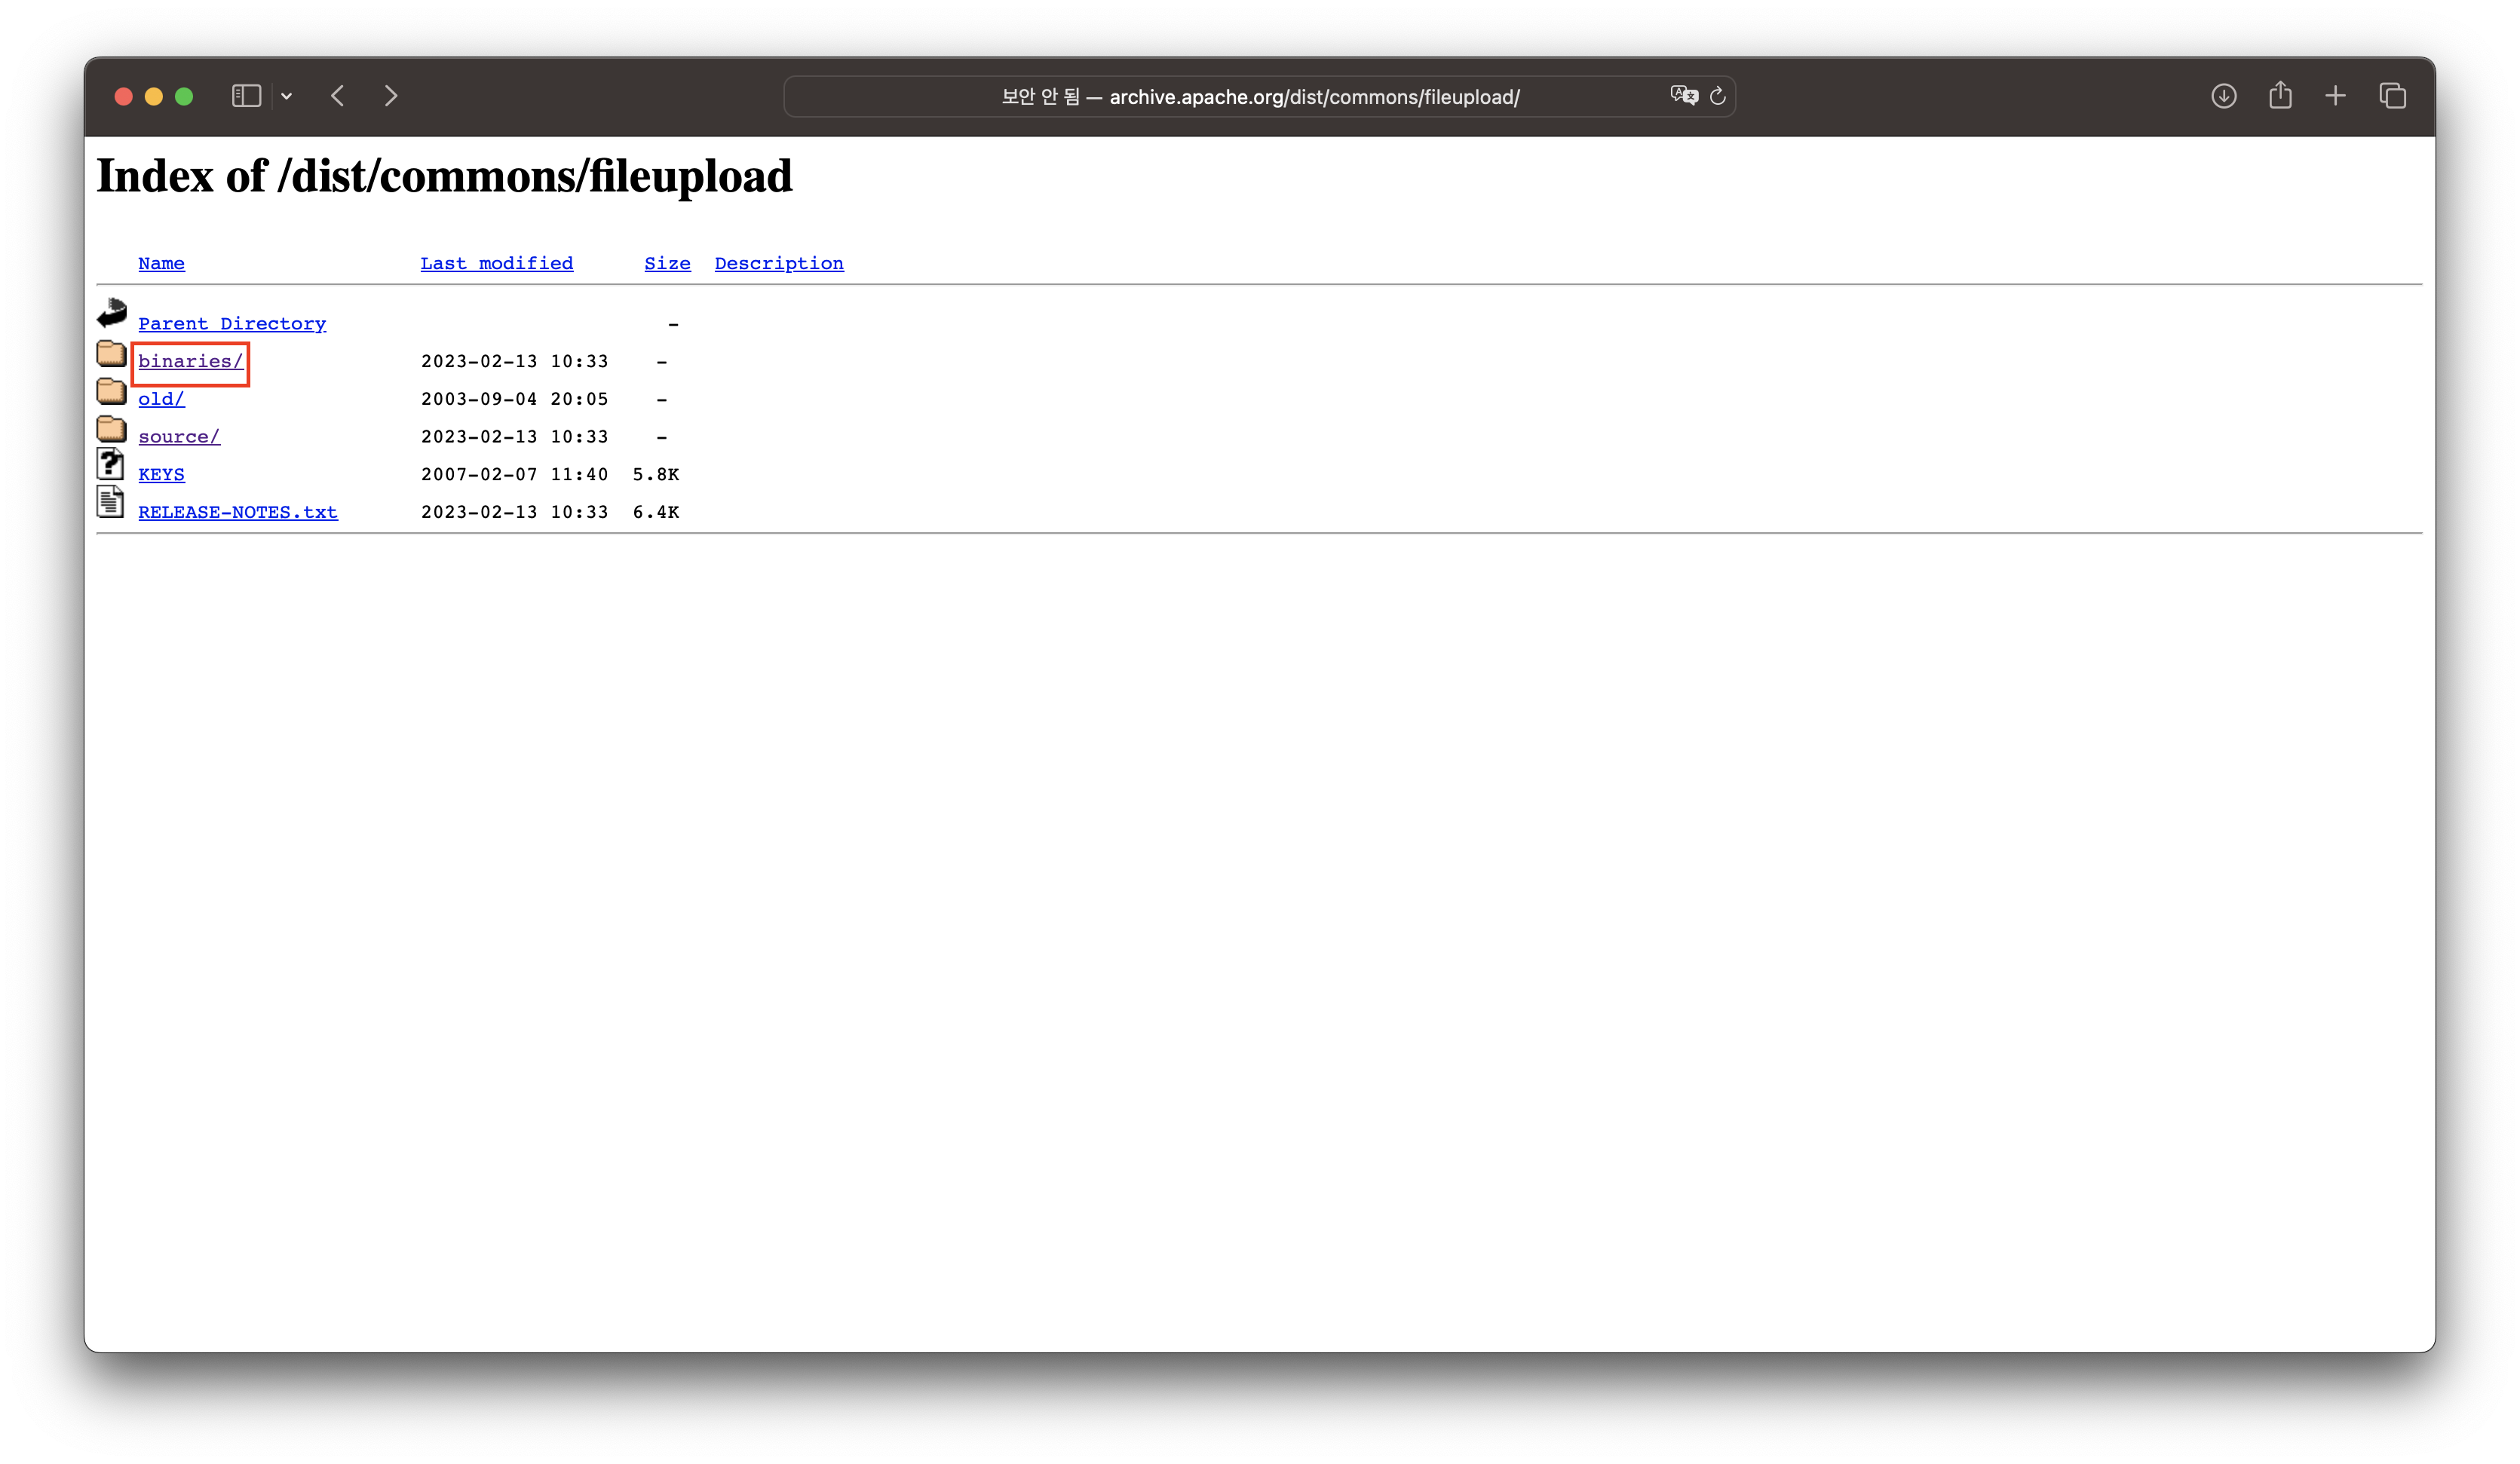
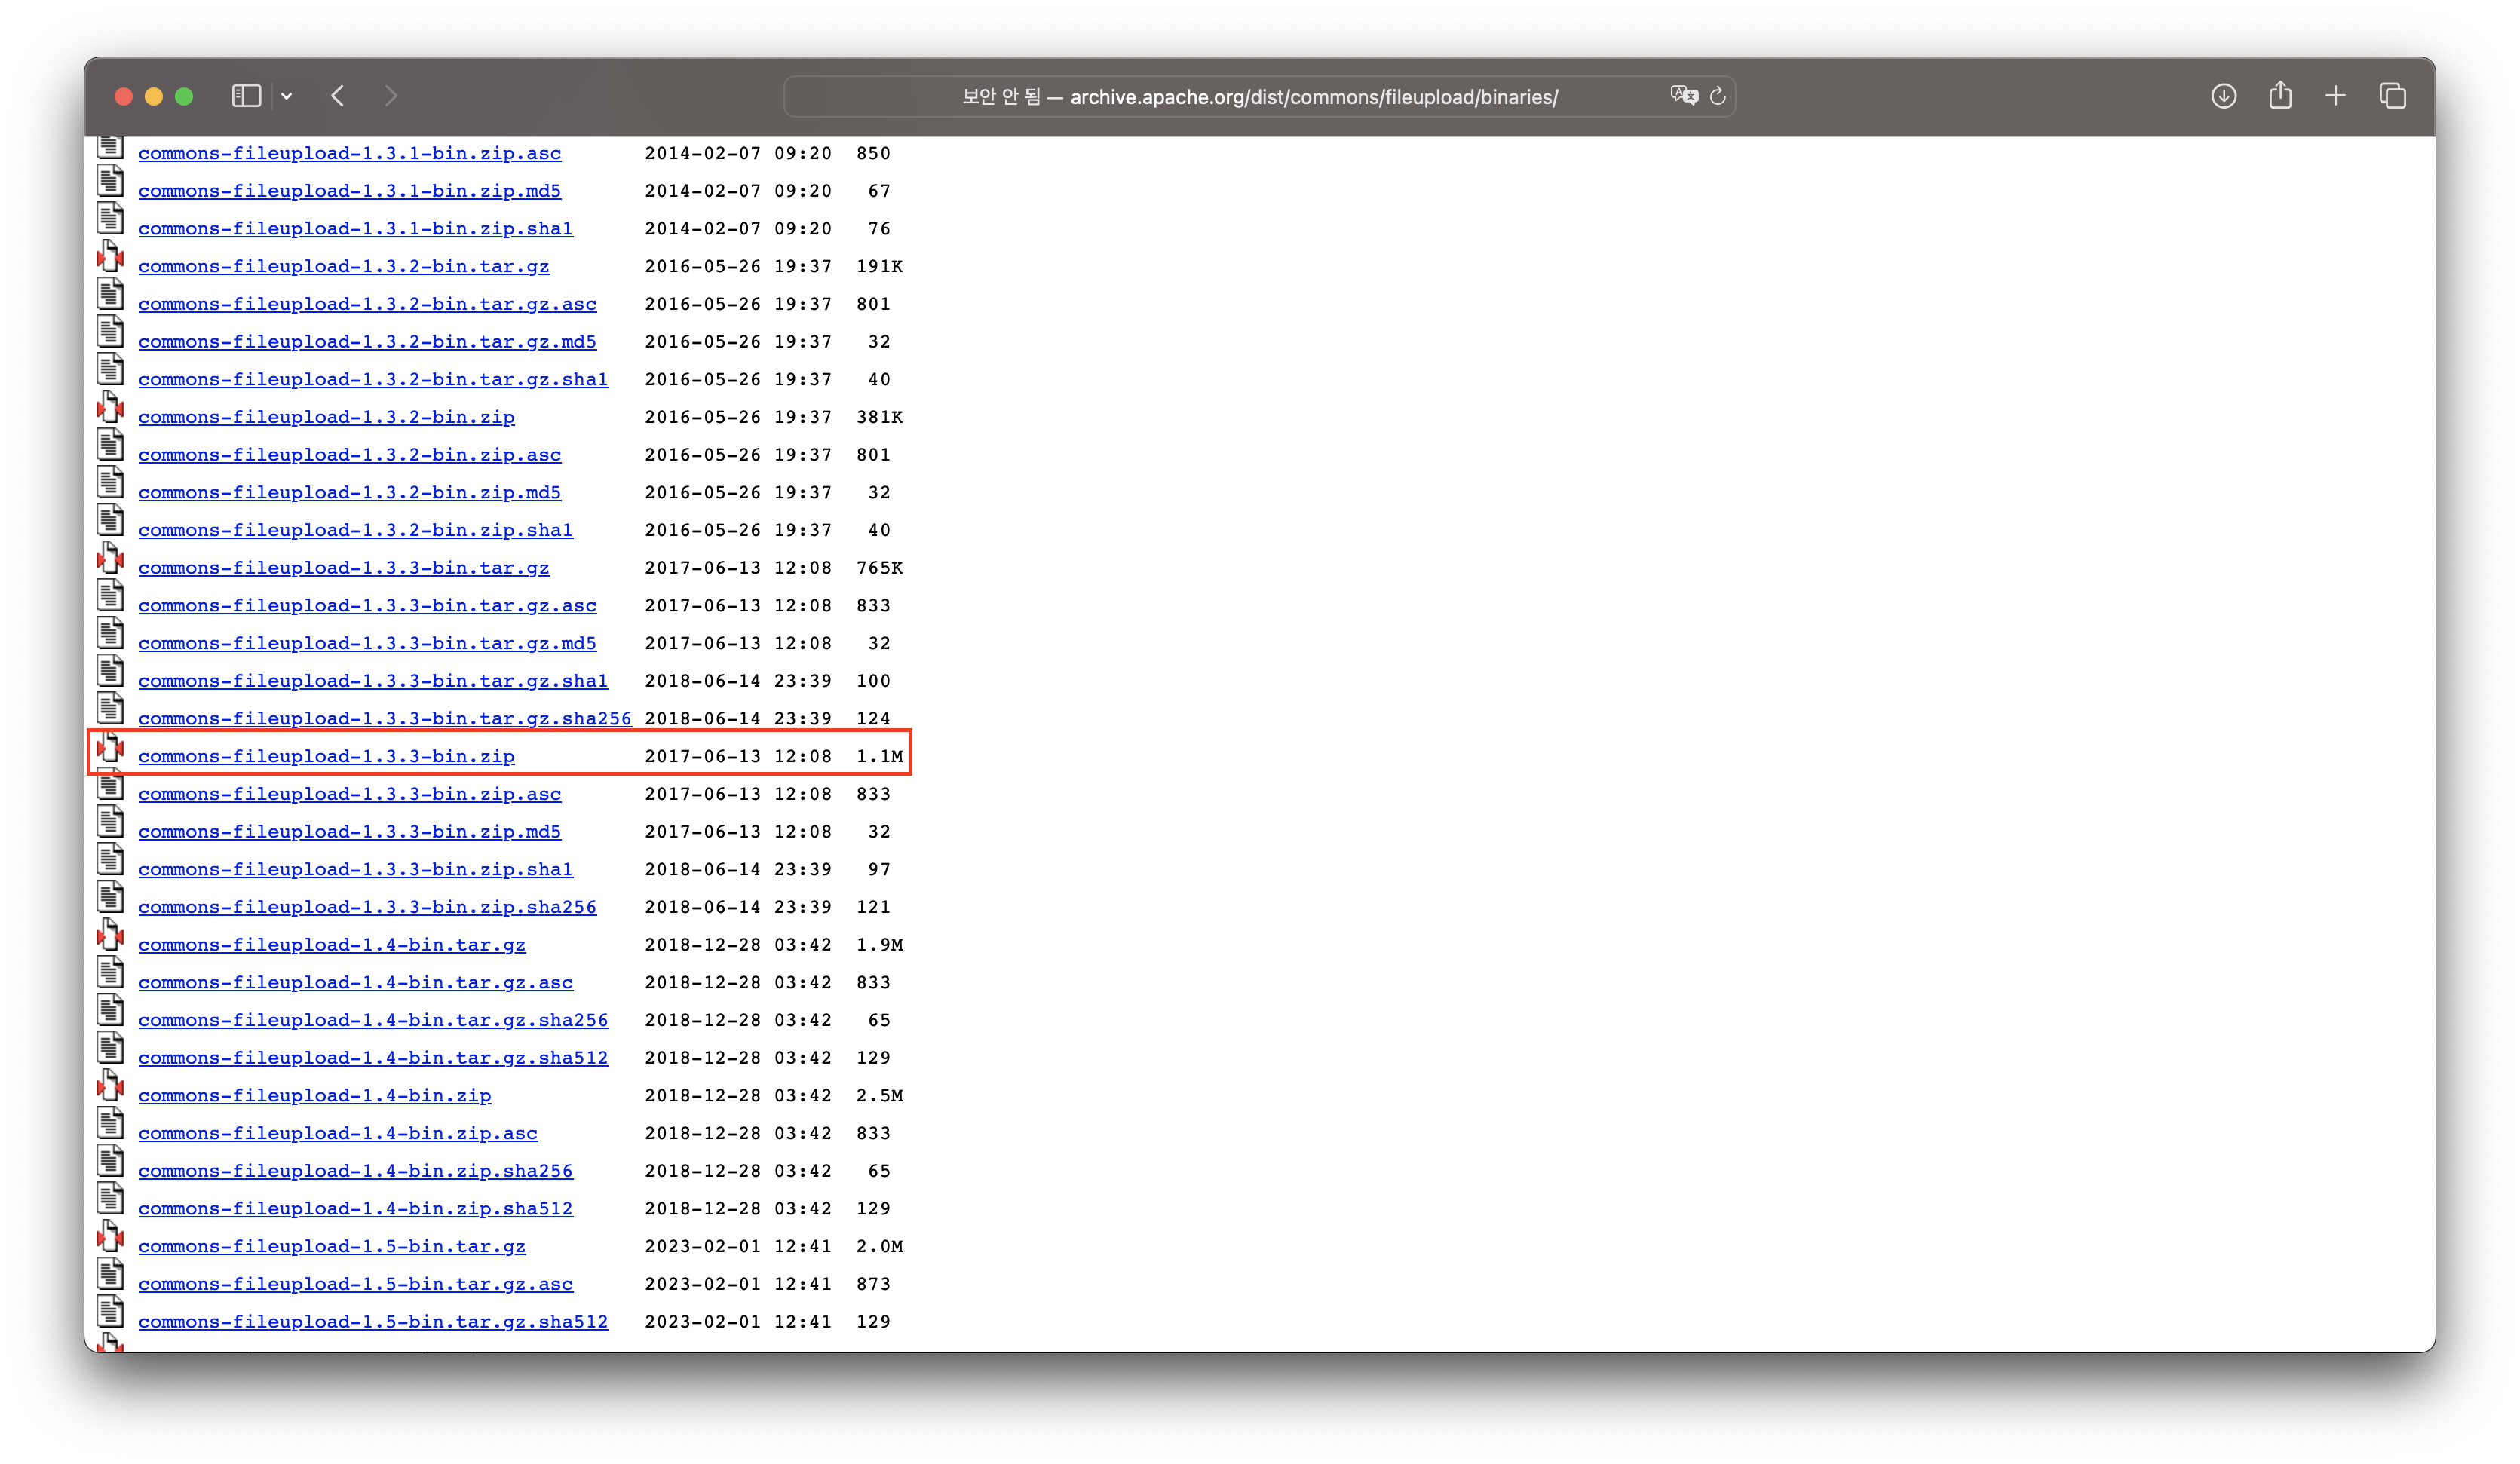
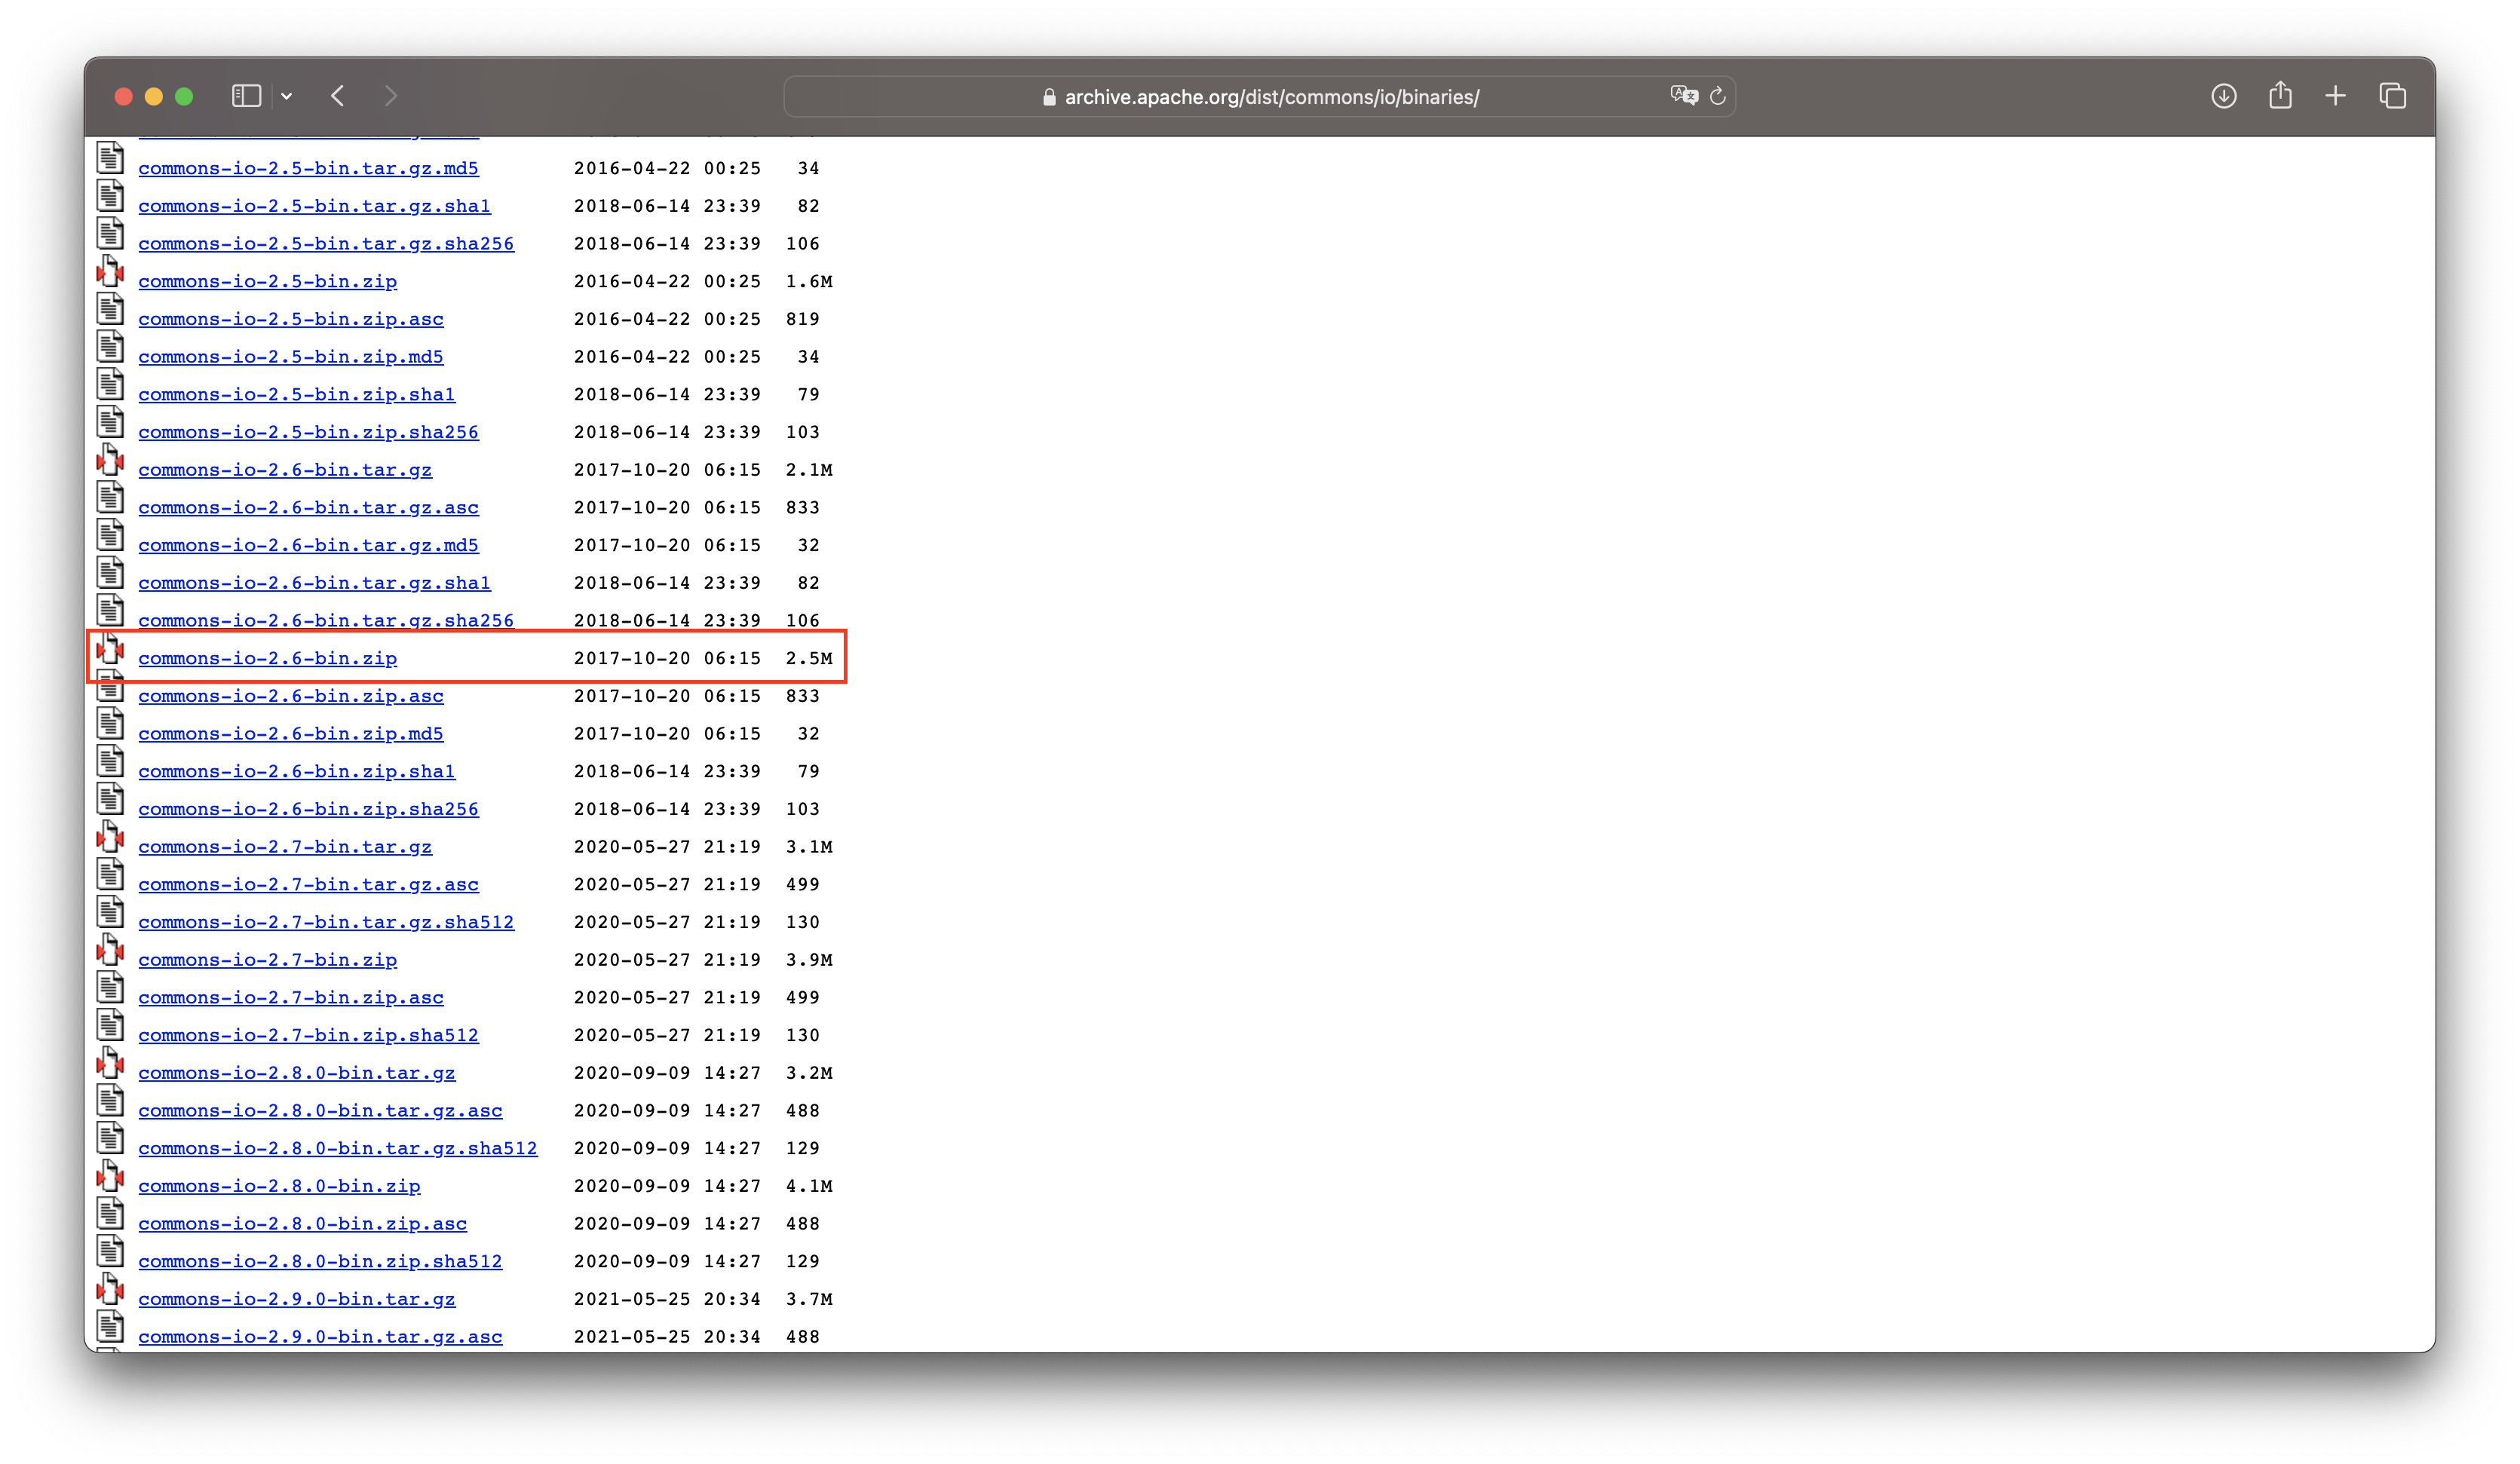
4. 저장소 사이트가 나오게 되는데, binaries/ 를 클릭하여 들어간다.
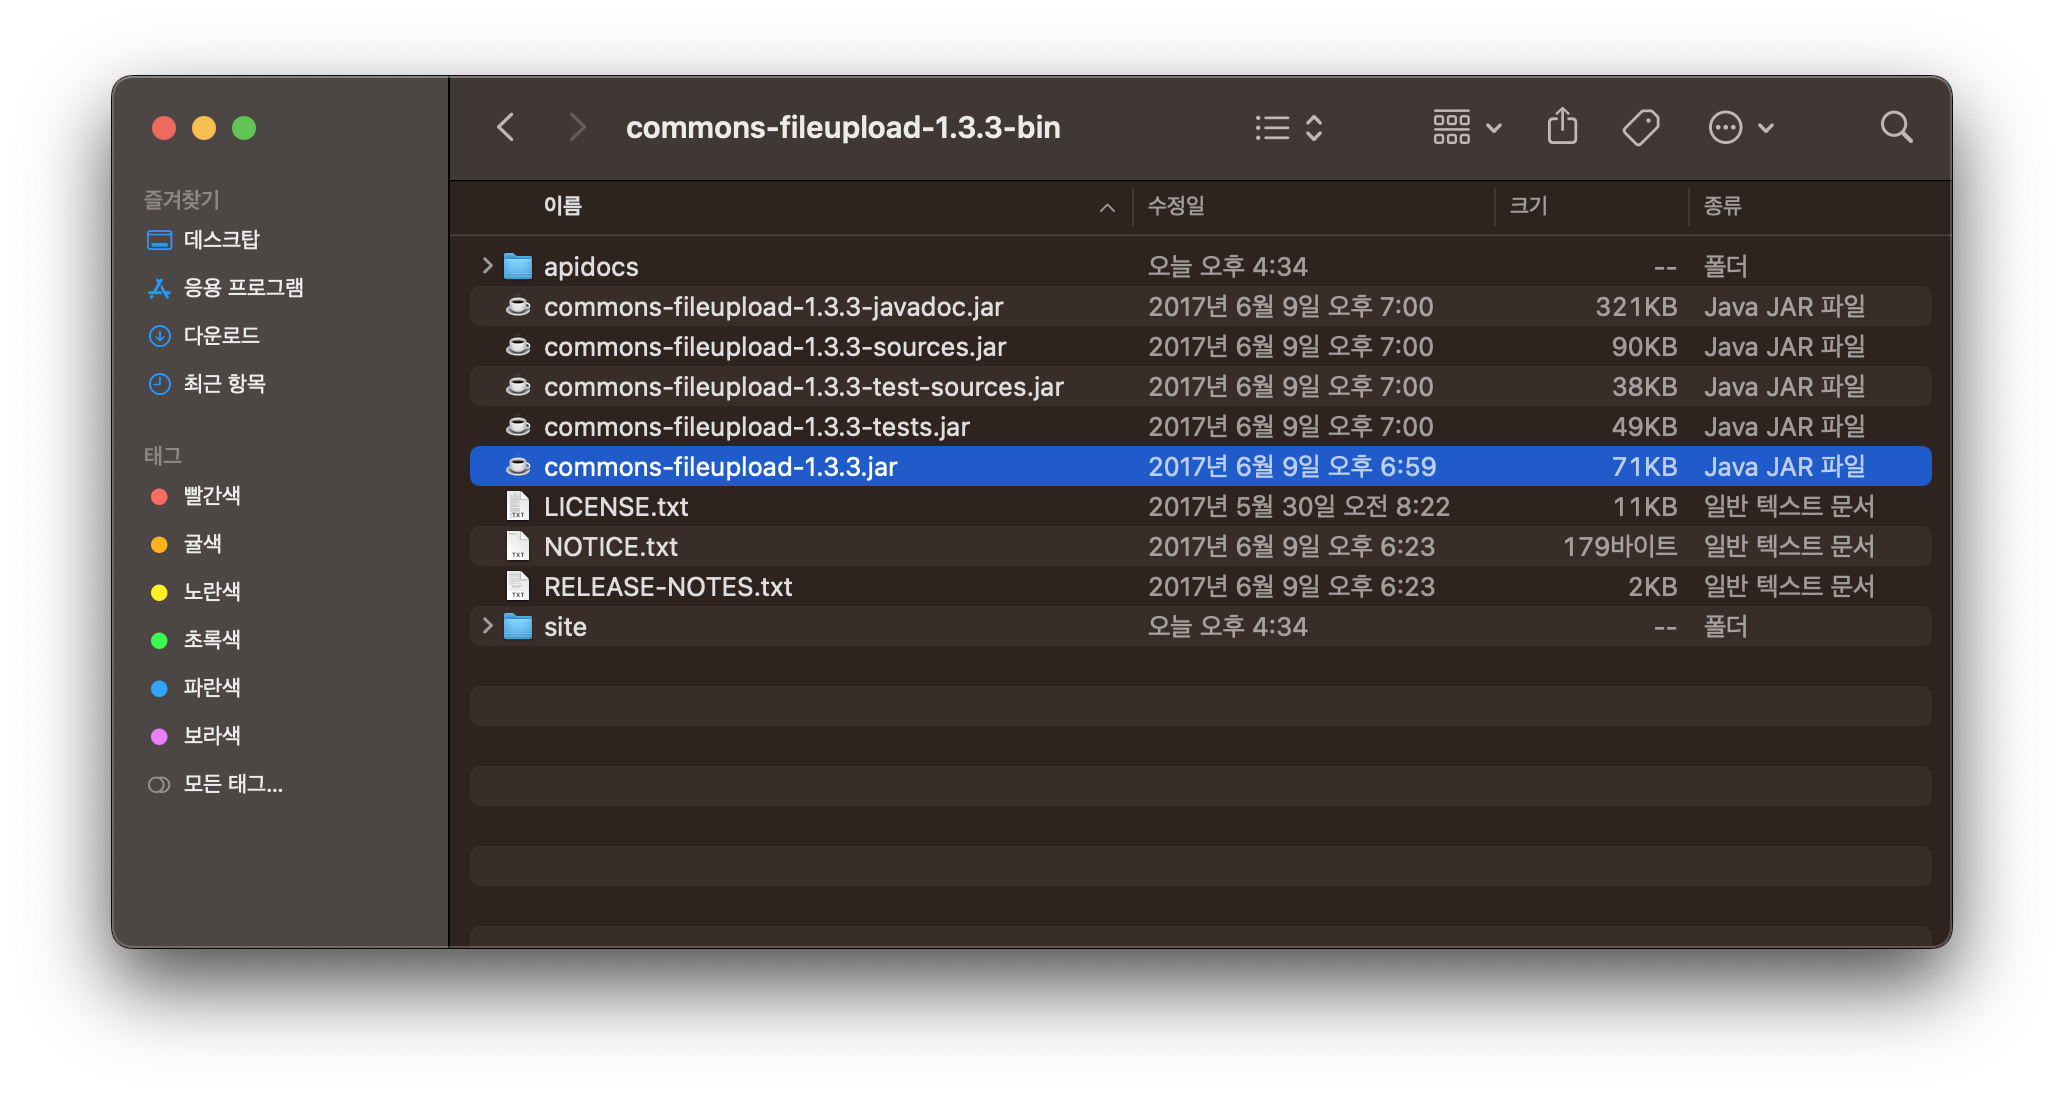
5. 스크롤을 내린 뒤 commons-fileupload-1.3.3-bin.zip 클릭해서 파일을 다운로드한다.
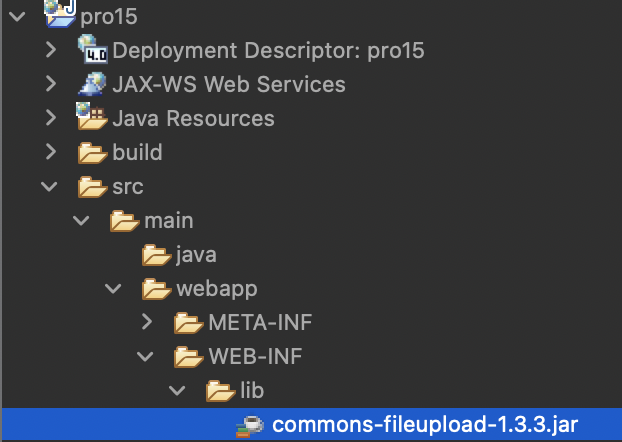
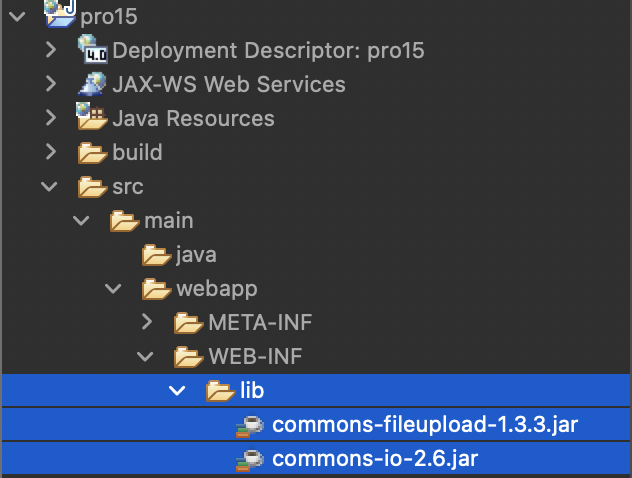
6. 다운로드 한 폴더의 commons-fileupload-1.3.3.jar 파일을 프로젝트 라이브러리 경로에 추가한다.
7. 이번에는 http://commons.apache.org/proper/commons-io/download_io.cgi 로 접속해서 archives 클릭
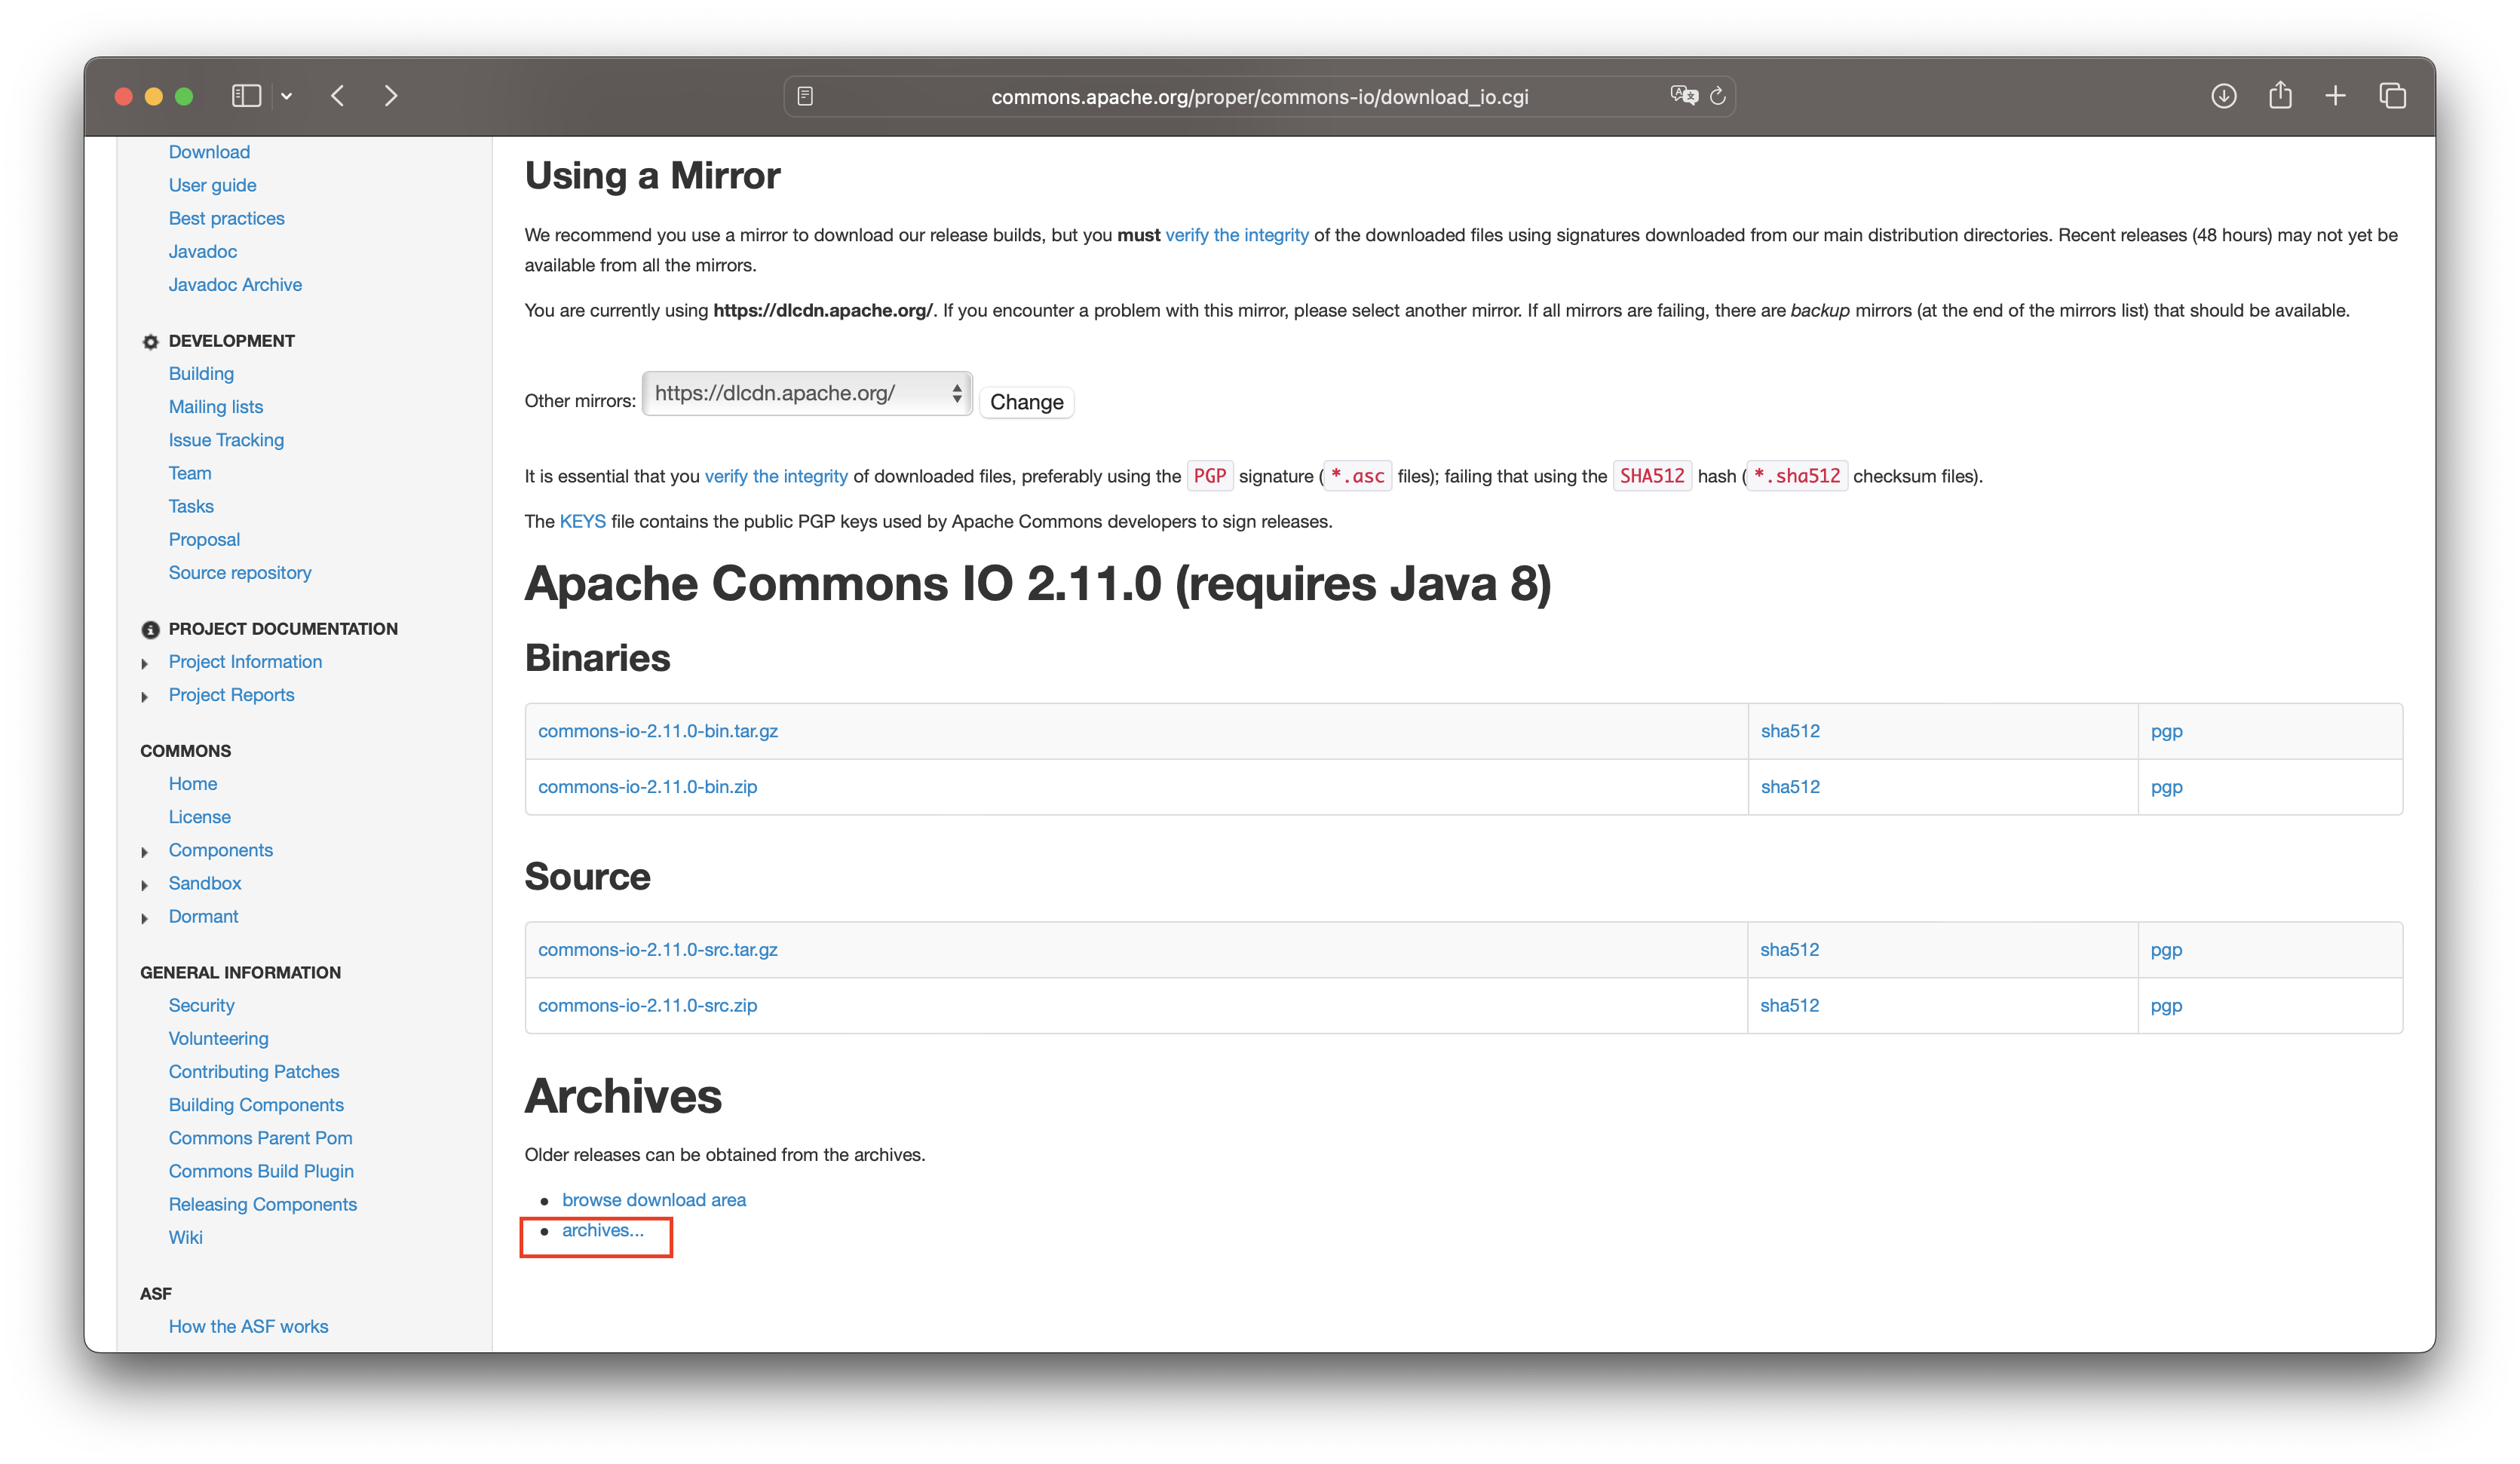
8. 스크롤을 내려 commons-io-2.6-bin.zip 클릭해서 다운로드 한다.
9. 위에서와 동일하게 프로젝트 라이브러리 폴더에 넣어준다.
파일 업로드 관련 API
파일 업로드 라이브러리에서 제공하는 클래스에는 DiskFileItemFactory, ServletFileUpload가 있음
DiskFileItemFactory 클래스가 제공하는 메서드
| 메서드 | 기능 |
| setRepository( ) | 파일을 저장할 디렉터리를 설정 |
| setSizeThreadhold( ) | 최대 업로드 가능한 파일 크기를 설정 |
ServletFileUpload 클래스가 제공하는 메서드
| 메서드 | 기능 |
| parseRequest( ) | 전송된 매개변수를 List 객체로 얻음 |
| getItemIterator( ) | 전송된 매개변수를 Iterator 타입으로 얻음 |
JSP 페이지에서 파일 업로드
1. uploadForm.jsp 파일 작성
<%@ page language="java" contentType="text/html; charset=UTF-8"
    pageEncoding="UTF-8"%>
<!DOCTYPE html>
<html>
<head>
<meta charset="UTF-8">
<title>파일 업로드창</title>
</head>
<body>
	<%-- 서블릿에 요청해 파일을 업로드 함 --%>
	<form action="${contextPath}/pro15/upload.do" method="post" enctype="multipart/form-data"> <%-- 파일 업로드 시 반드시 encType을 multipart/form-data로 설정해야 함 --%>
		파일1: <input type="file" name="file1"><br>
		파일2: <input type="file" name="file2"><br>
		매개변수1: <input type="text" name="param1"><br>
		매개변수2: <input type="text" name="param2"><br>
		매개변수3: <input type="text" name="param3"><br>
		<input type="submit" value="업로드">
	</form>
</body>
</html>
2. FileUpload.java 클래스 파일 작성
package sec01.ex01;

import java.io.File;
import java.io.IOException;
import java.util.List;

import javax.servlet.ServletException;
import javax.servlet.annotation.WebServlet;
import javax.servlet.http.HttpServlet;
import javax.servlet.http.HttpServletRequest;
import javax.servlet.http.HttpServletResponse;

import org.apache.commons.fileupload.FileItem;
import org.apache.commons.fileupload.disk.DiskFileItemFactory;
import org.apache.commons.fileupload.servlet.ServletFileUpload;

@WebServlet("/upload.do")
public class FileUpload extends HttpServlet {
	protected void doGet(HttpServletRequest request, HttpServletResponse response) throws ServletException, IOException {
		doHandle(request, response);
	}

	/**
	 * @see HttpServlet#doPost(HttpServletRequest request, HttpServletResponse response)
	 */
	protected void doPost(HttpServletRequest request, HttpServletResponse response) throws ServletException, IOException {
		doHandle(request, response);
	}

	private void doHandle(HttpServletRequest request, HttpServletResponse response) throws ServletException, IOException {
		request.setCharacterEncoding("utf-8");
		String encoding = "utf-8";
		File currentDirPath = new File("/Users/sungwoo/file_repo"); // 업로드할 파일 경로를 지정
		DiskFileItemFactory factory = new DiskFileItemFactory();
		factory.setRepository(currentDirPath); // 파일 경로를 설정
		factory.setSizeThreshold(1024*1024); // 최대 업로드 가능한 파일 크기를 설정
		ServletFileUpload upload = new ServletFileUpload(factory);
		try {
			List items = upload.parseRequest(request); // request 객체에서 매개변수를 List로 가져옴
			for(int i=0; i<items.size(); i++) {
				FileItem fileItem = (FileItem)items.get(i); // 파일 업로드창에서 업로드된 항목들을 하나씩 가져옴
				// 폼 필드이면 전송된 매개변수 값을 출력함
                if(fileItem.isFormField()) {
					System.out.println(fileItem.getFieldName()+ "=" +fileItem.getString(encoding));
				// 폼 필드가 아니면 파일 업로드 기능을 수행
                } else {
					System.out.println("매개변수이름:"+fileItem.getFieldName());
					System.out.println("파일이름:"+fileItem.getName());
					System.out.println("파일크기:"+fileItem.getSize( ) + "bytes");
					// 업로드한 파일 이름을 가져옴
                    if(fileItem.getSize() > 0) {
						int idx = fileItem.getName().lastIndexOf("/");
						if(idx ==-1) {
							idx = fileItem.getName().lastIndexOf("/");
						}
						String fileName = fileItem.getName().substring(idx+1);
                        // 업로드한 파일 이름으로 저장소에 파일을 업로드
						File uploadFile = new File(currentDirPath +"/" + fileName);
						fileItem.write(uploadFile);
					} // end if
				} // end if
			} // end for
		} catch (Exception e) {
			e.printStackTrace();
		}
	}
}
라이브러리에서 제공하는 DiskFileItemFactory 클래스를 이용해 저장 위치와 업로드 가능한 최대 파일 크기를 설정한다.
ServletFileUpload 클래스를 이용해 파일 업로드창에서 업로드된 파일과 매개변수에 대한 정보를 가져와 파일을 업로드하고 매개변수 값을 출력한다.
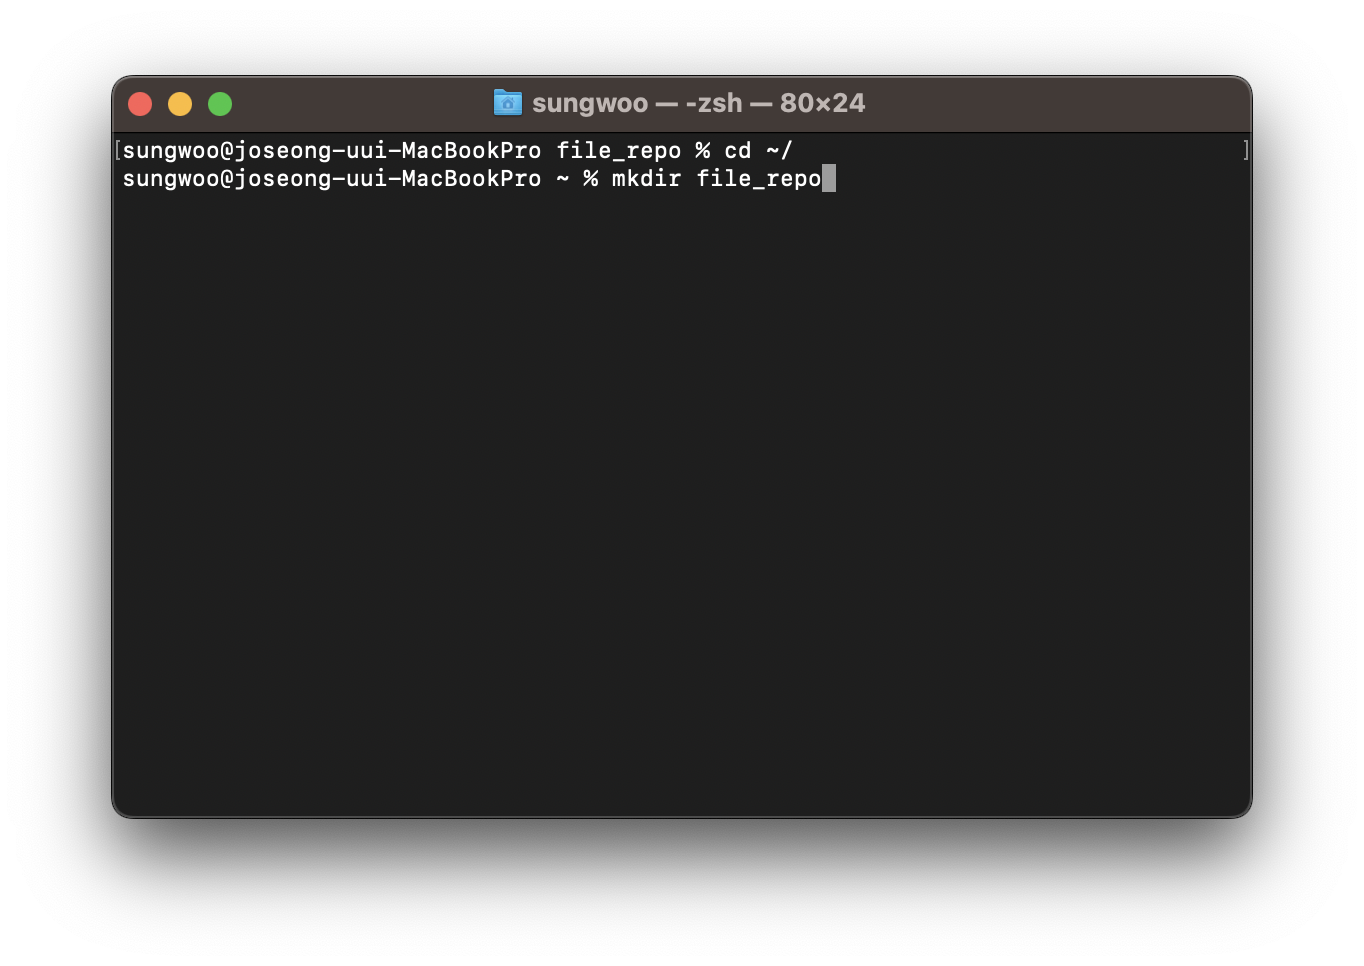
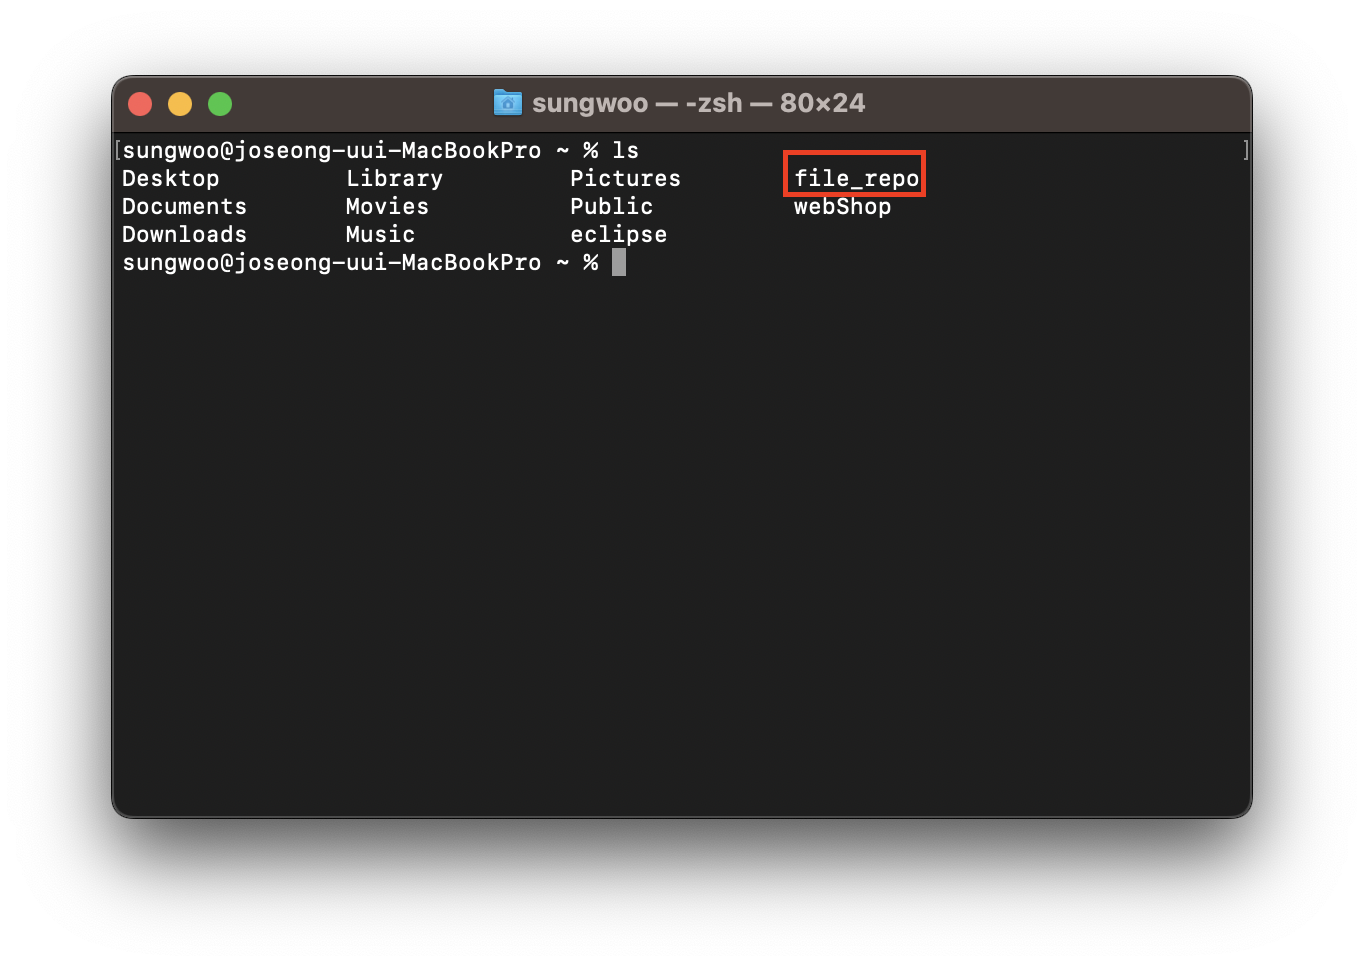
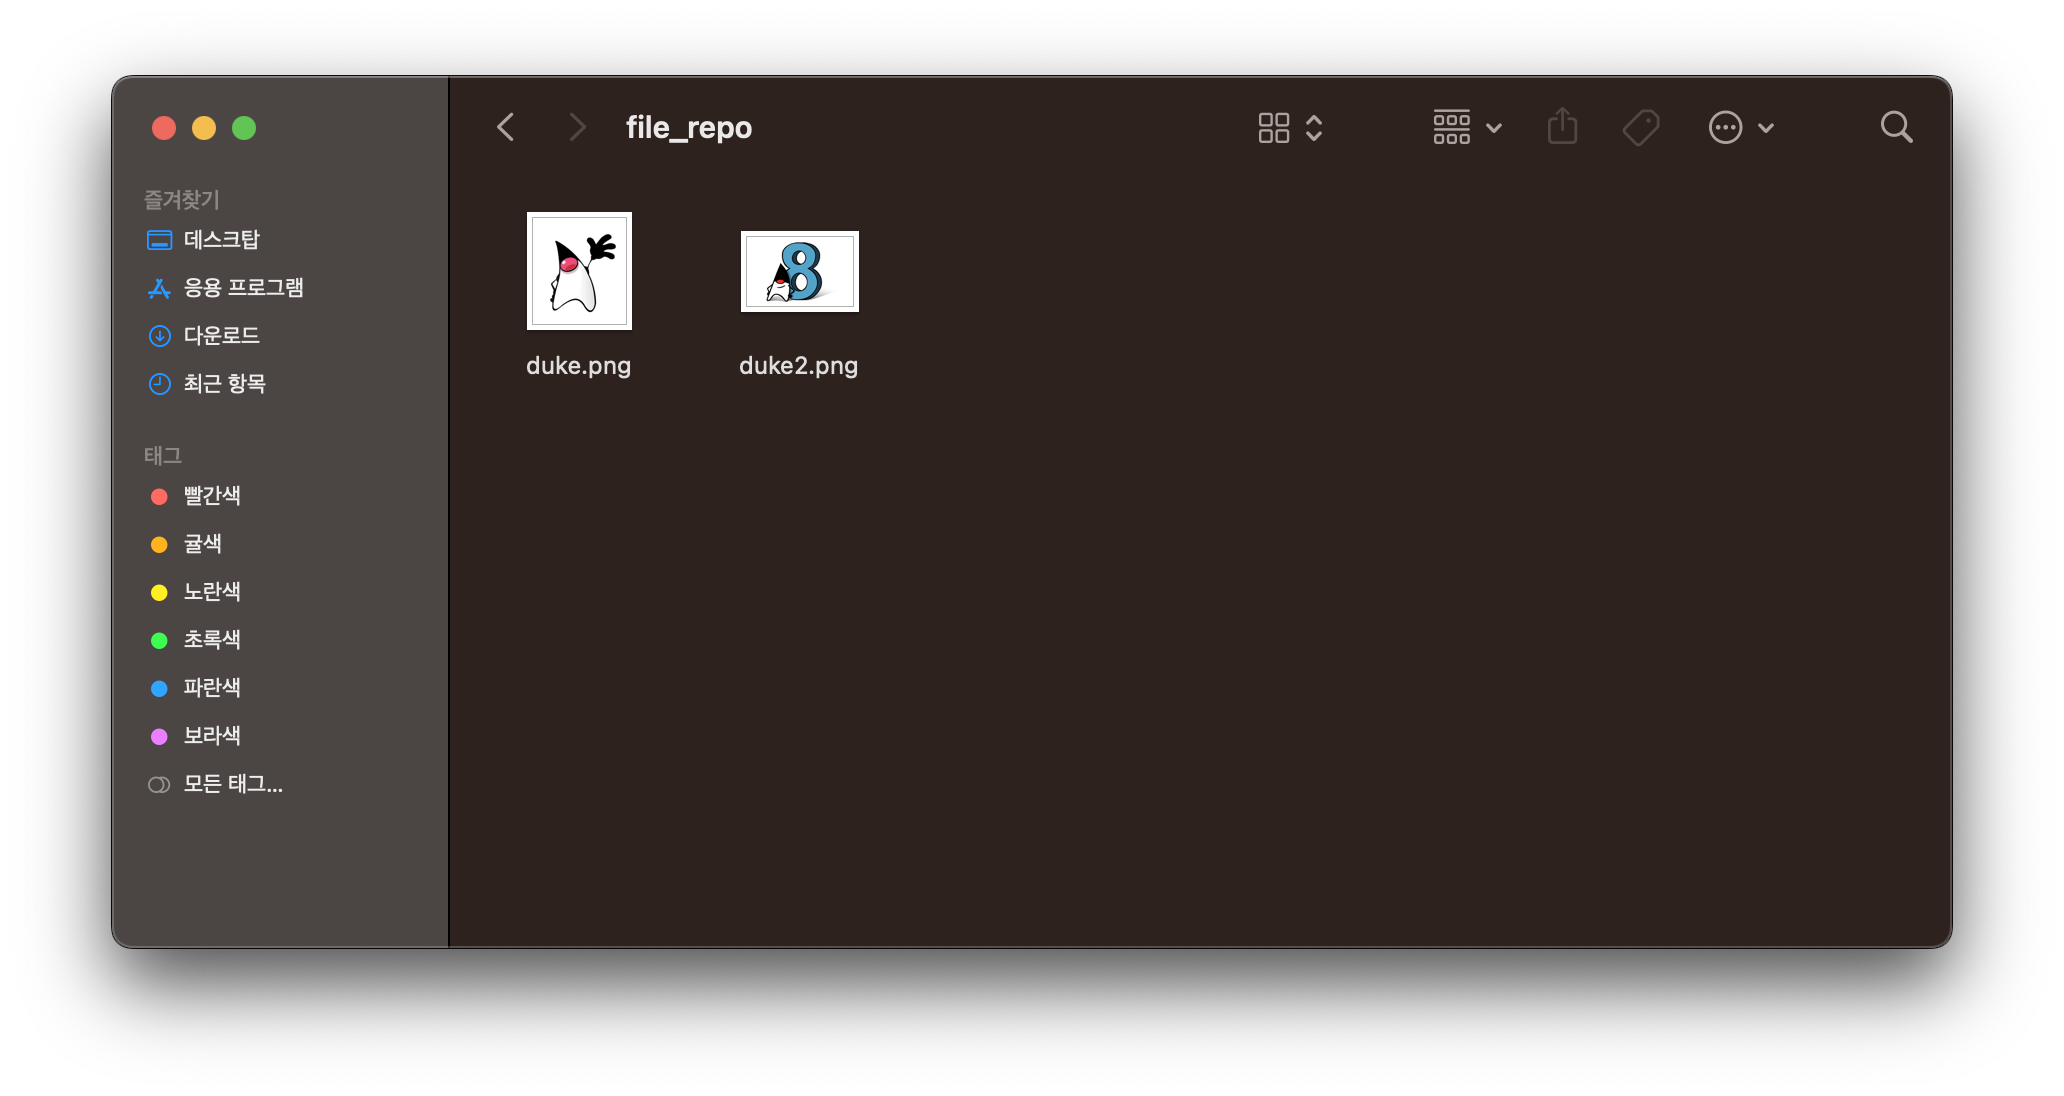
3. file_repo 폴더를 생성
4. http://localhost:8090/pro15/test01/uploadForm.jsp로 요청해서 파일 업로드 창을 열고 이미지 파일을 첨부 후 텍스트 필드값을 입력 후 업로드 클릭

업로드가 완료되면 웹 페이지에는 아무것도 출력되지 않지만 file_repo 폴더로 가면 업로드된 파일을 볼 수 있다.
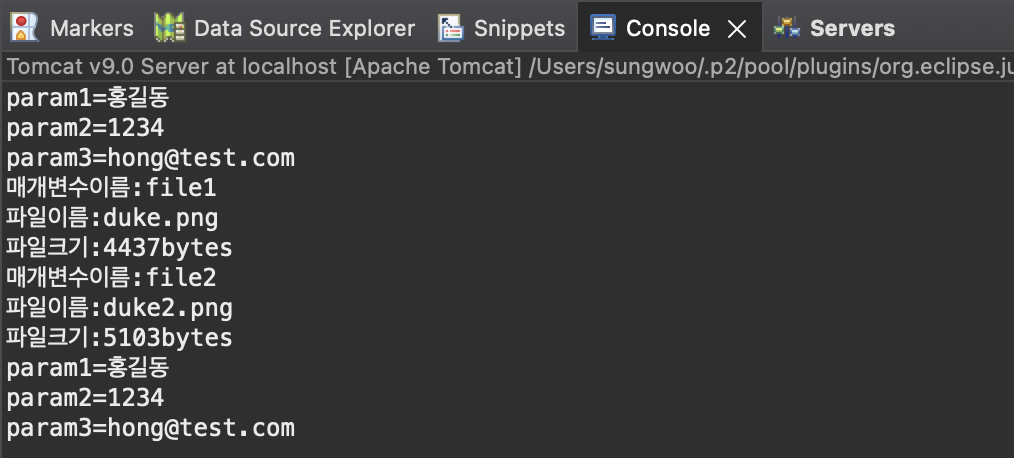
그리고 이클립스의 콘솔창에서도 업로드한 매개변수의 정보와 파일 정보를 출력하는 화면을 볼 수 있다.
'웹 개발 기초 > 자바 웹을 다루는 기술' 카테고리의 다른 글
| HTML5 주요 개념 및 태그 사용 예제 (0) | 2023.03.04 |
|---|---|
| JSP에서 파일 다운로드 (0) | 2023.03.02 |
| 빈 사용 실습 (0) | 2023.03.01 |
| pageContext 객체 사용 실습 (0) | 2023.03.01 |
| requestScope 사용 실습 (0) | 2023.03.01 |